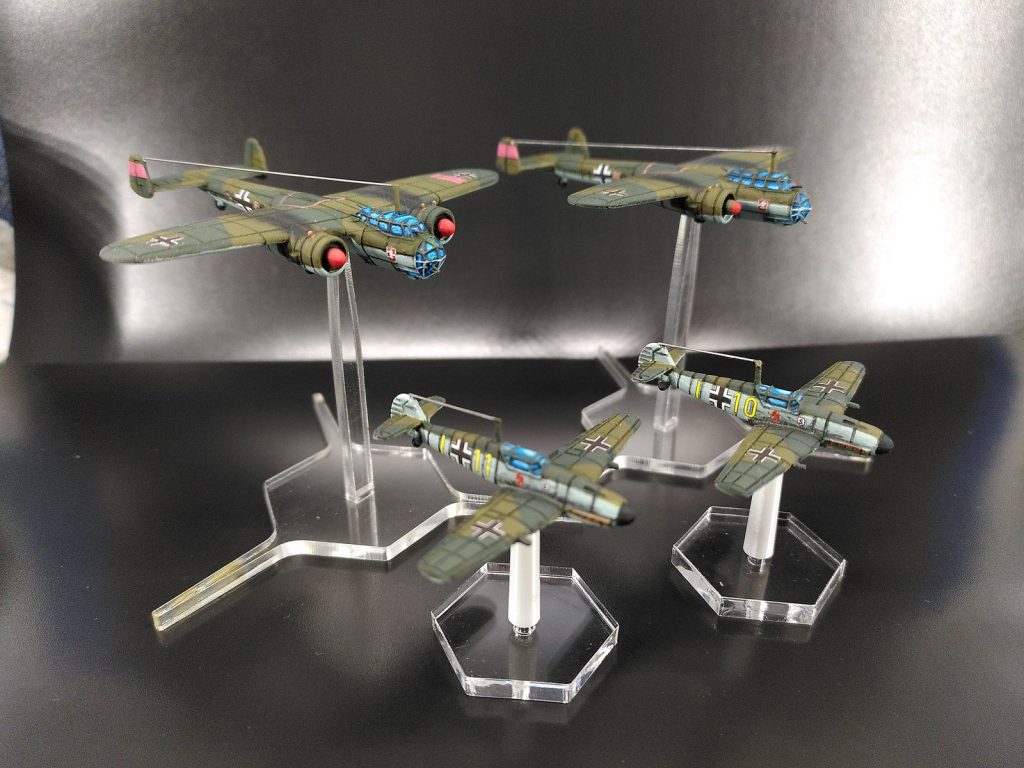
Here is an insight into how I paint my Air Raid 36/46 metal figures. I would be pleased if these tips help one or the other of you.
Greetings, Markus
Basics - The primer
When I painted tin and lead Battlemechs about 30 years ago, I always used a standard primer from the DIY store. This smelled very strong and could only be sprayed outdoors. You also had to be careful not to spray too much on the figures so that no details disappeared. All in all, it worked quite well back then and I remember that the primer adhered very well to the model.
When I recently started painting again after more than 25 years, I bought a primer spray can from Vallejo. According to the labeling, it can be used for plastic, resin and metal. So I primed it, left it to dry for 24 hours and when I wanted to start with the first coat of paint, I was able to rub the primer off with my fingers. The metal was immediately visible underneath. Thus began the odyssey of cleaning with soapy water, later with isopropyl alcohol, etc. I then tried other primers in spray cans. Including one from AK, which is specially designed for metal. This held a little better, but as soon as I wanted to use masking tape, pieces of the primer stuck to the masking tape after cleaning and drying. There were also tips that you should stick the tape to the skin beforehand so that the slight greasiness of the skin reduces the adhesive strength of the tape. Unfortunately without success. Translated with DeepL.com (free version)
Then I thought back-to-the-roots and tried a primer from the Dupli-Color DIY store. Unfortunately, the same problem. At the latest when using masking tape, whether Revell, Tamiya, Schmincke - the primer always comes off.
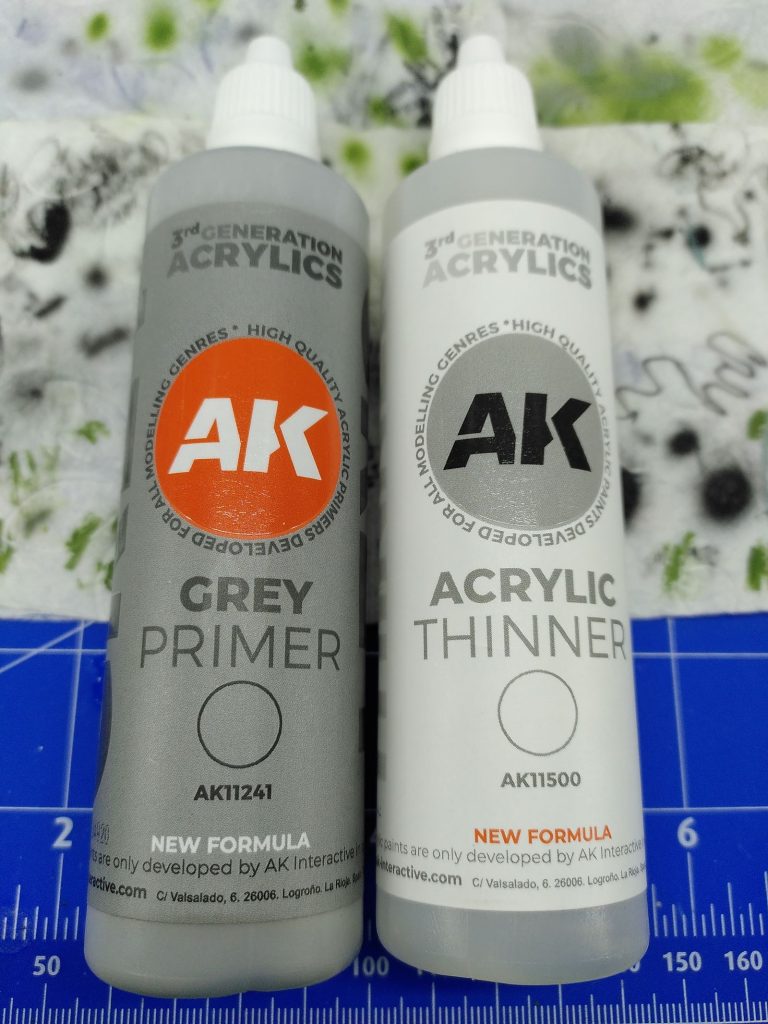
I then bought some Vallejo and AK primers for the airbrush, as these can also be sprayed in the interior with an extraction system and mask without any problems. I got stuck with the so-called 3rd Generation from AK. I dilute this with the 3rd Generation Thinner from AK at a ratio of about 1:3 and spray 2-3 thin layers onto the model. I then leave this to dry for about 24 hours and currently have no more problems when I use masking tape. The primer sticks to the metal model, just as it should.
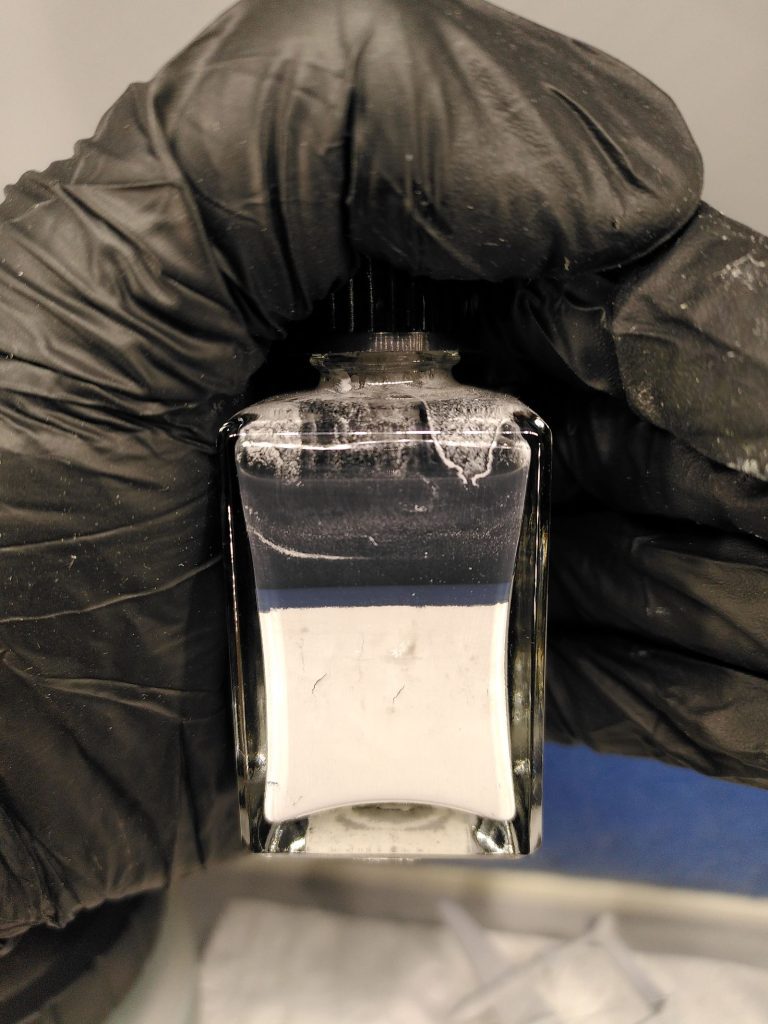
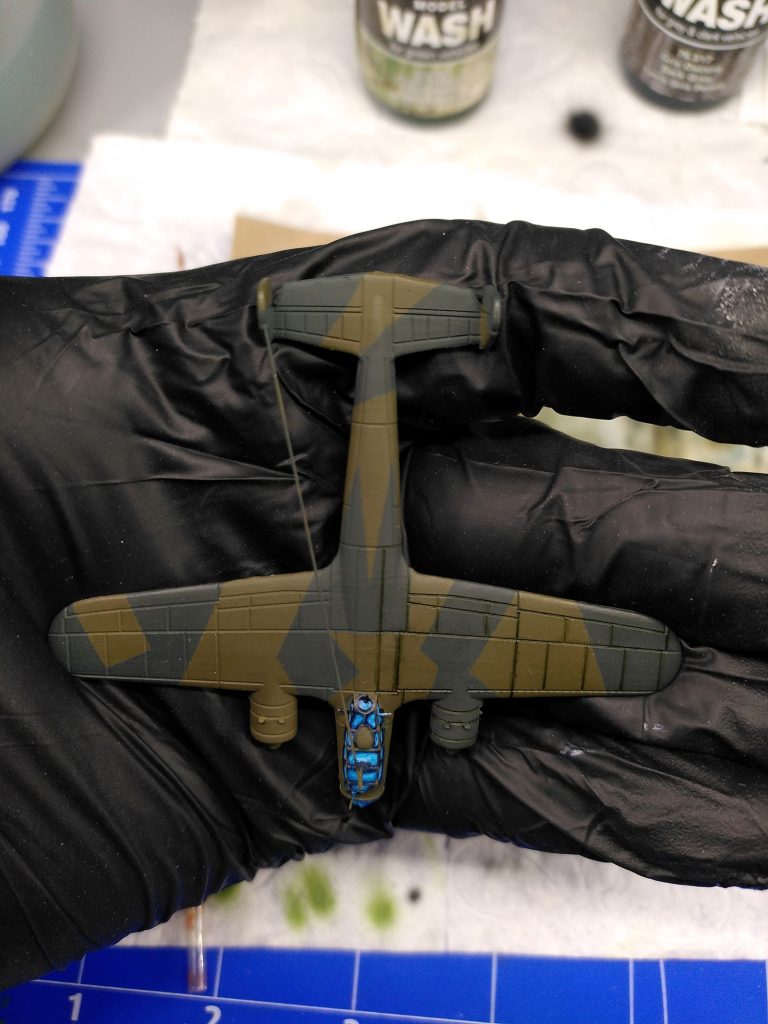
I have now got into the habit of almost exclusively wearing rubber gloves, in this case nitrile gloves, when I touch the models so that they are protected from the grease on the skin. When breastfeeding, it is of course also protection for the hands.
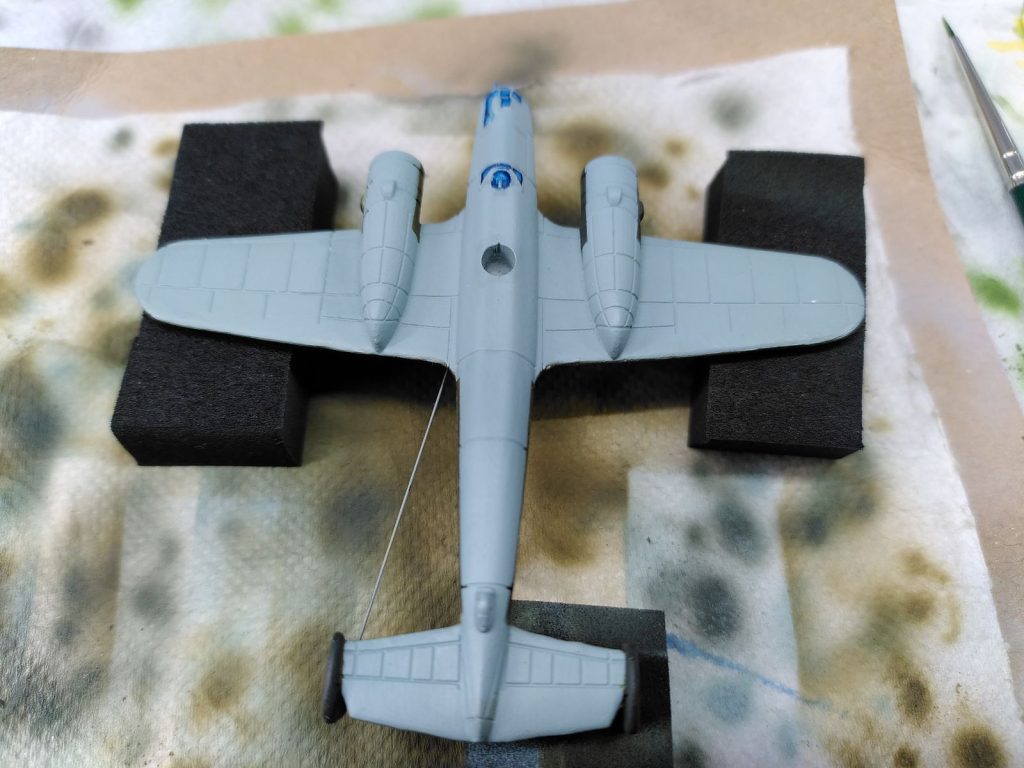
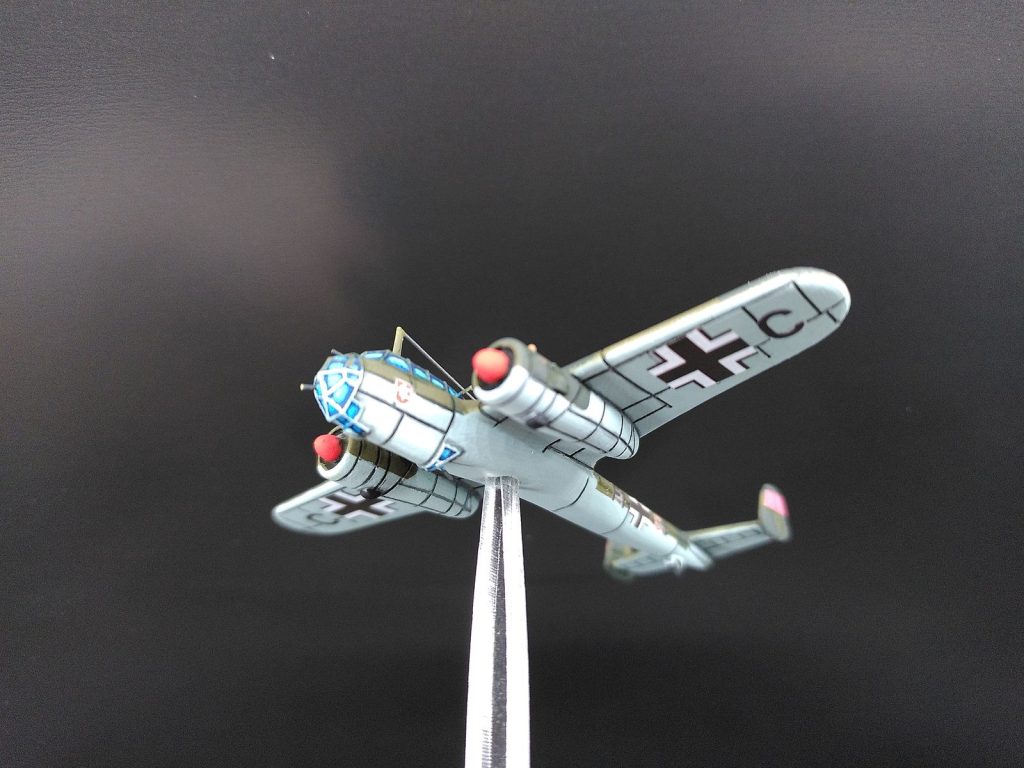
Masking and German splinter camouflage as an example on a Do 17
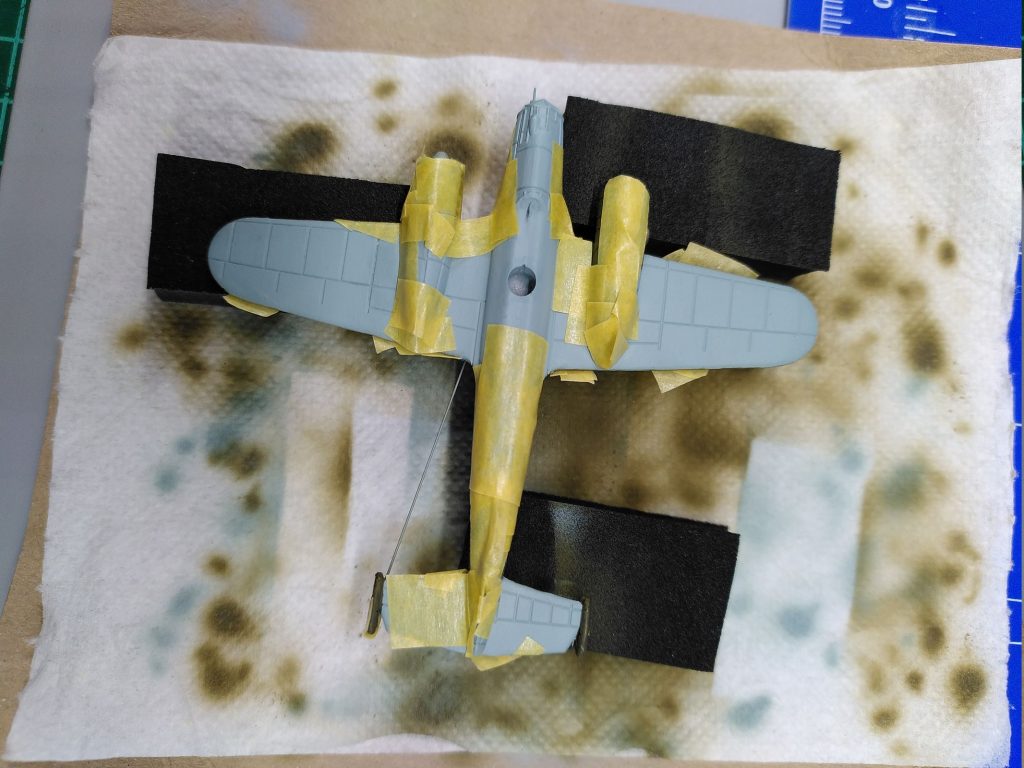
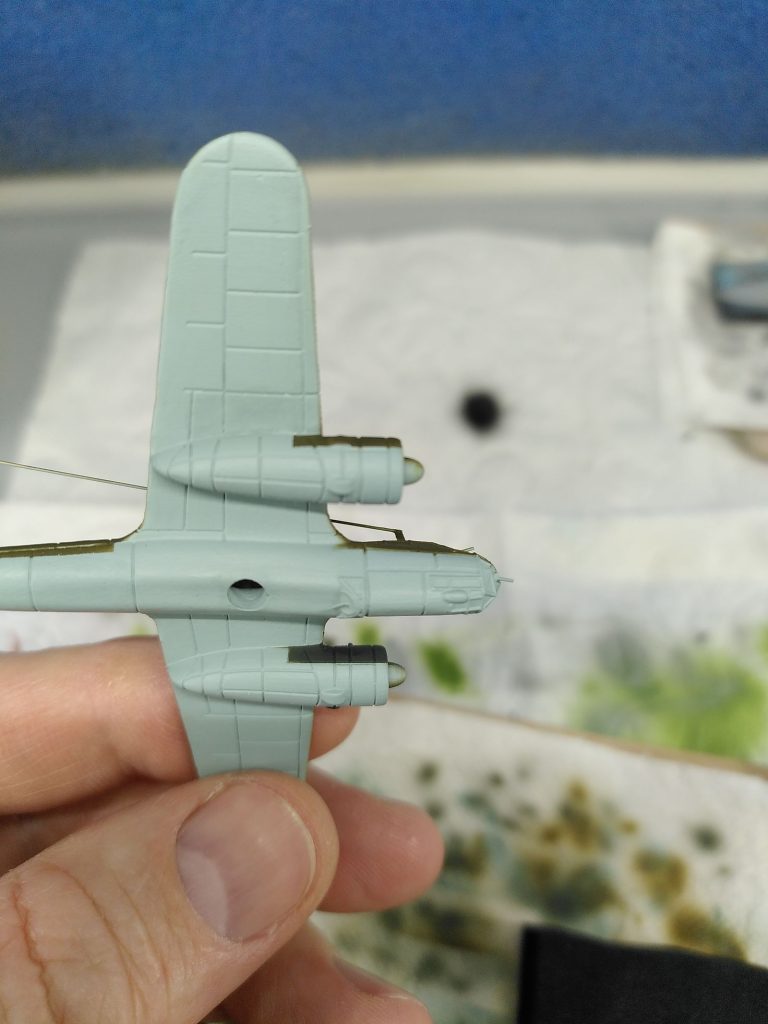
I did not record the first steps, the application of Vallejo Air RLM 65 Light Blue. The model was simply placed upside down and sprayed in 2-3 thin layers with the airbrush. I usually dilute the Vallejo Air colors approx. 2:10 with the Vallejo Thinner. In addition, I recommend adding the Flow Improver from Vallejo for the airbrush, for example, at approx. 1:10 and the Retarder (drying retarder) at approx. 1:10 to the airbrush and mixing well.
The second step, masking with masking tape so that I can spray Vallejo Air RLM 71 dark green on the top, was also not recorded. However, the mixing ratio is the same as for RLM 65.
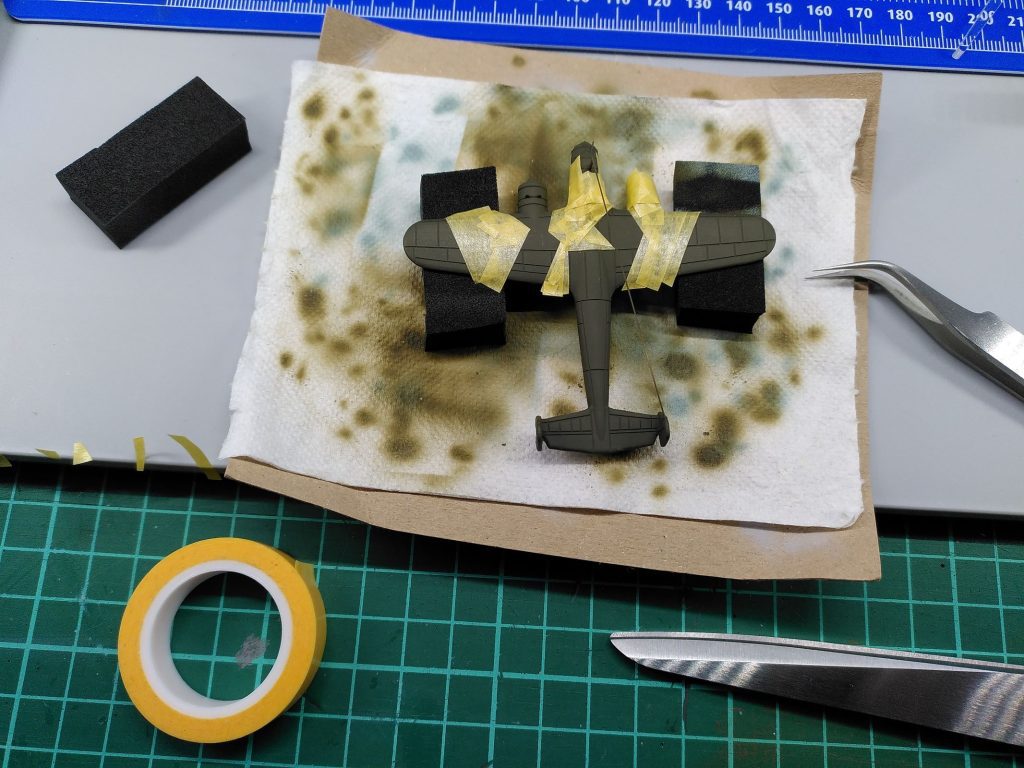
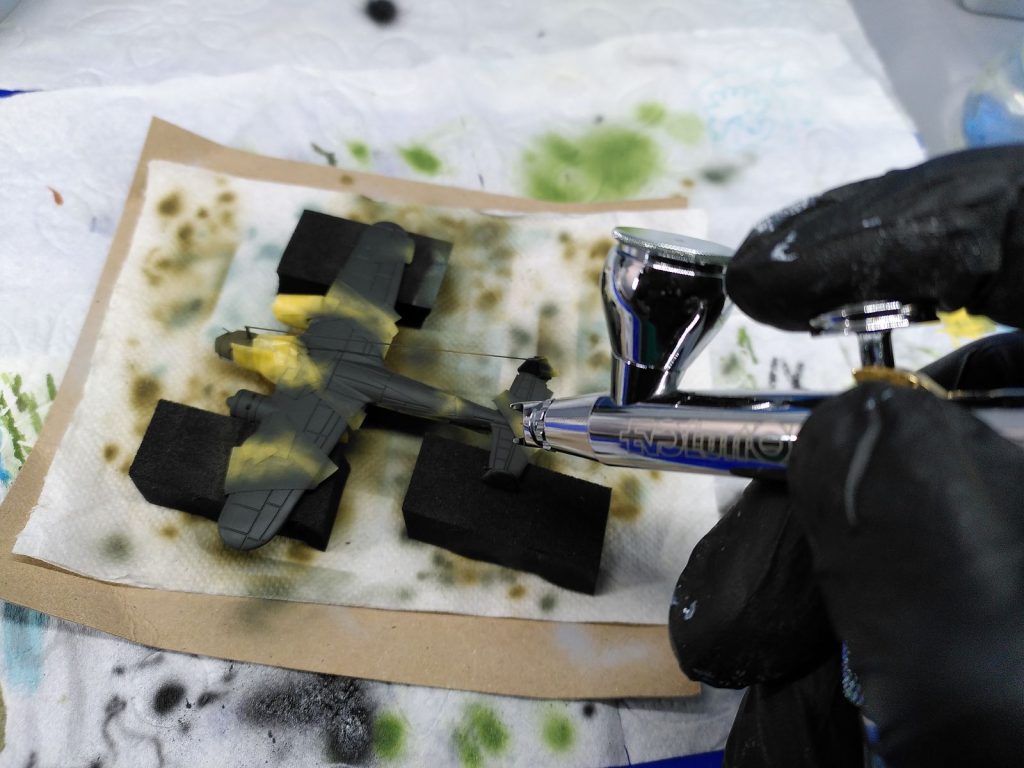
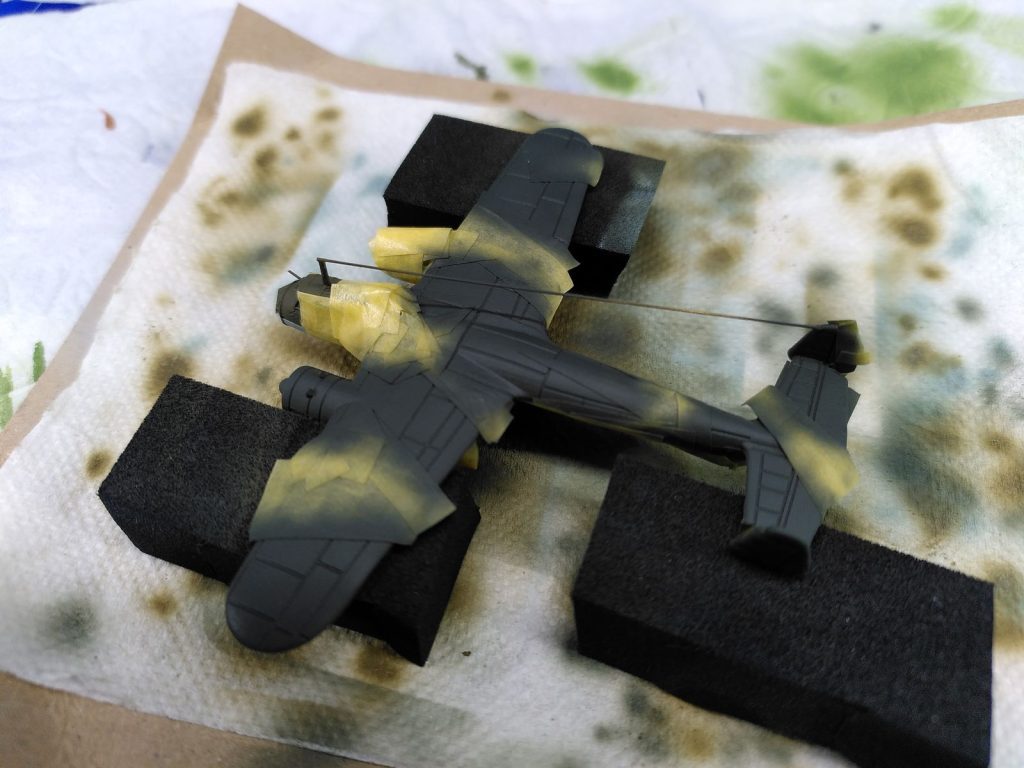
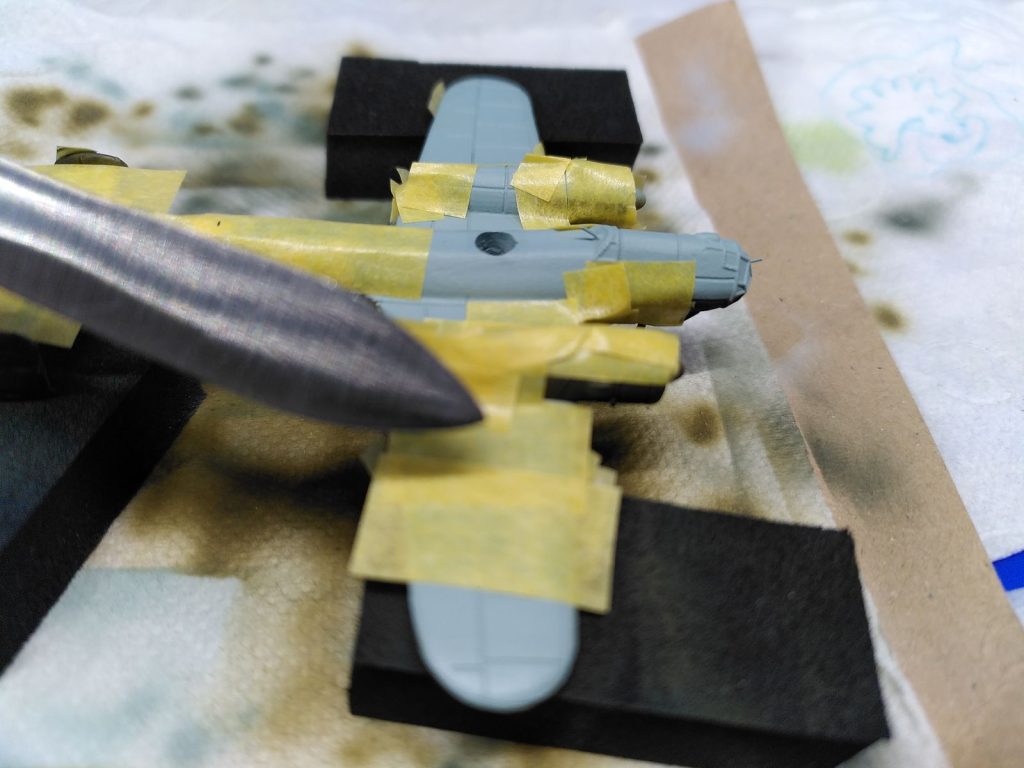
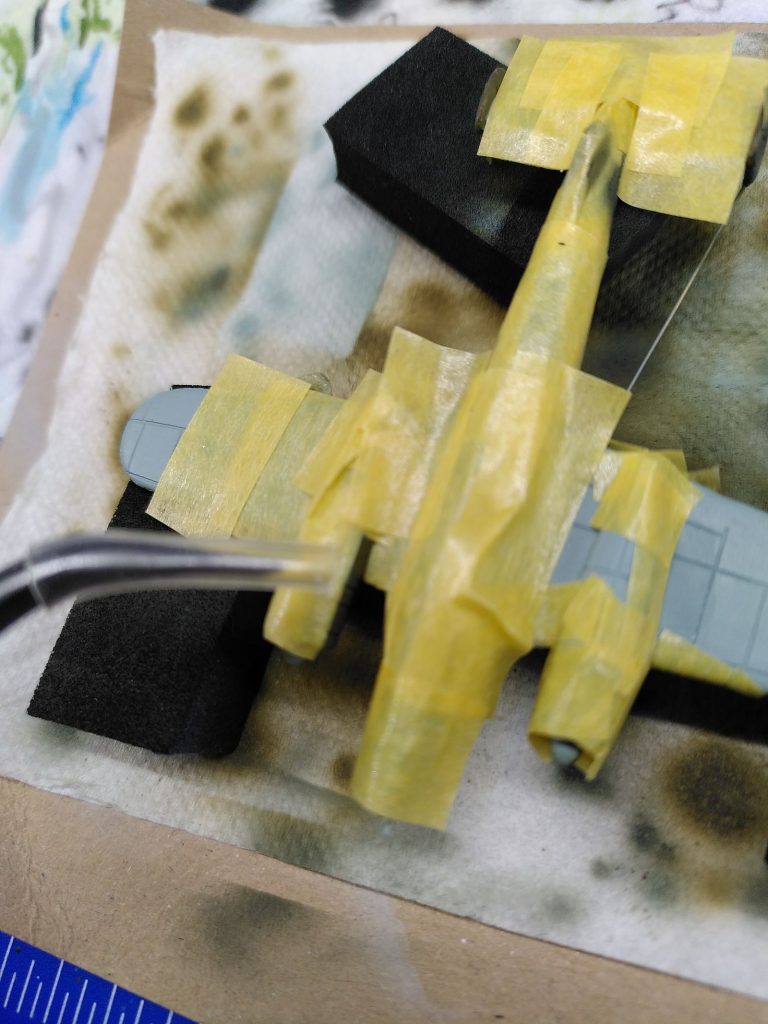
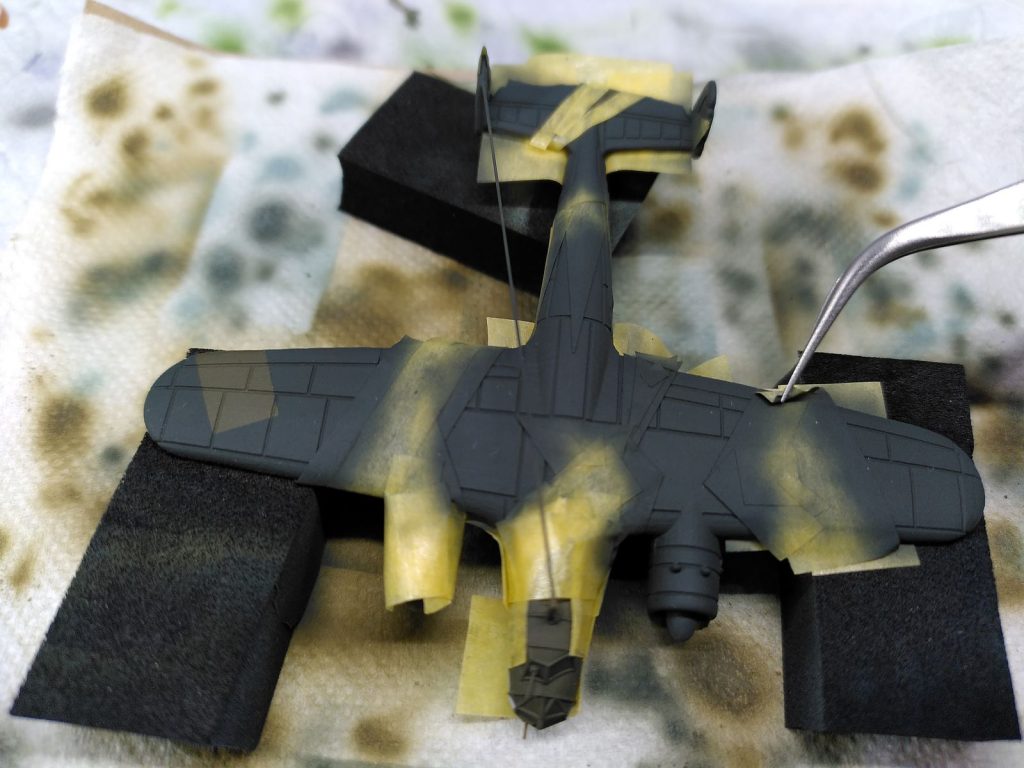
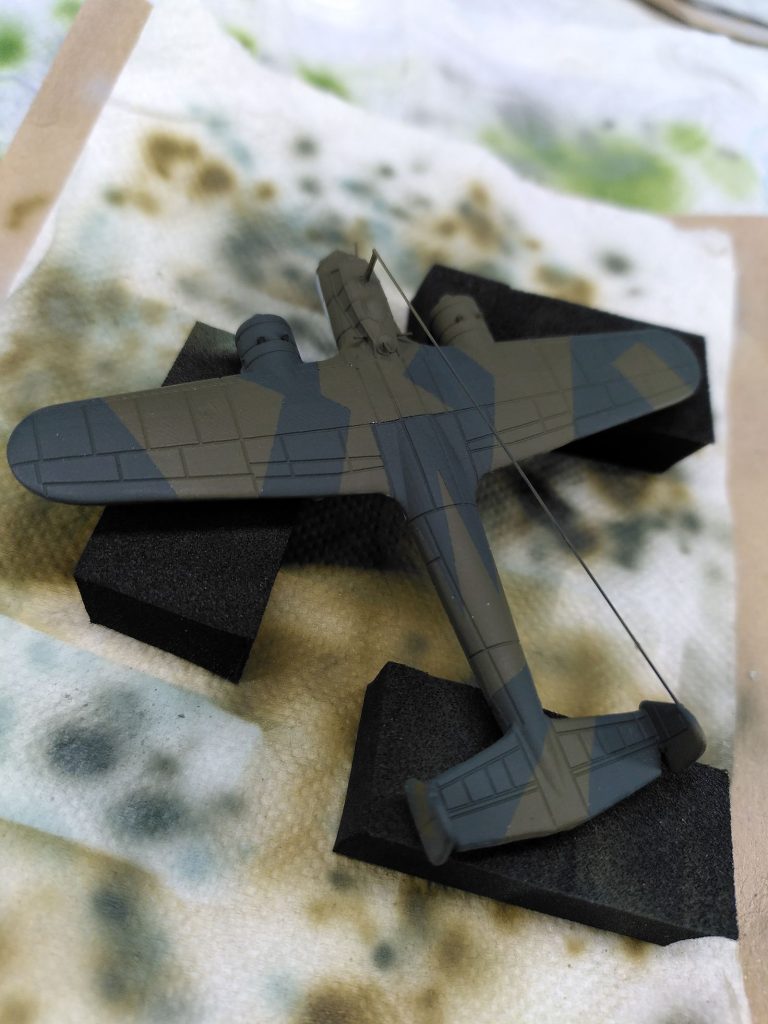
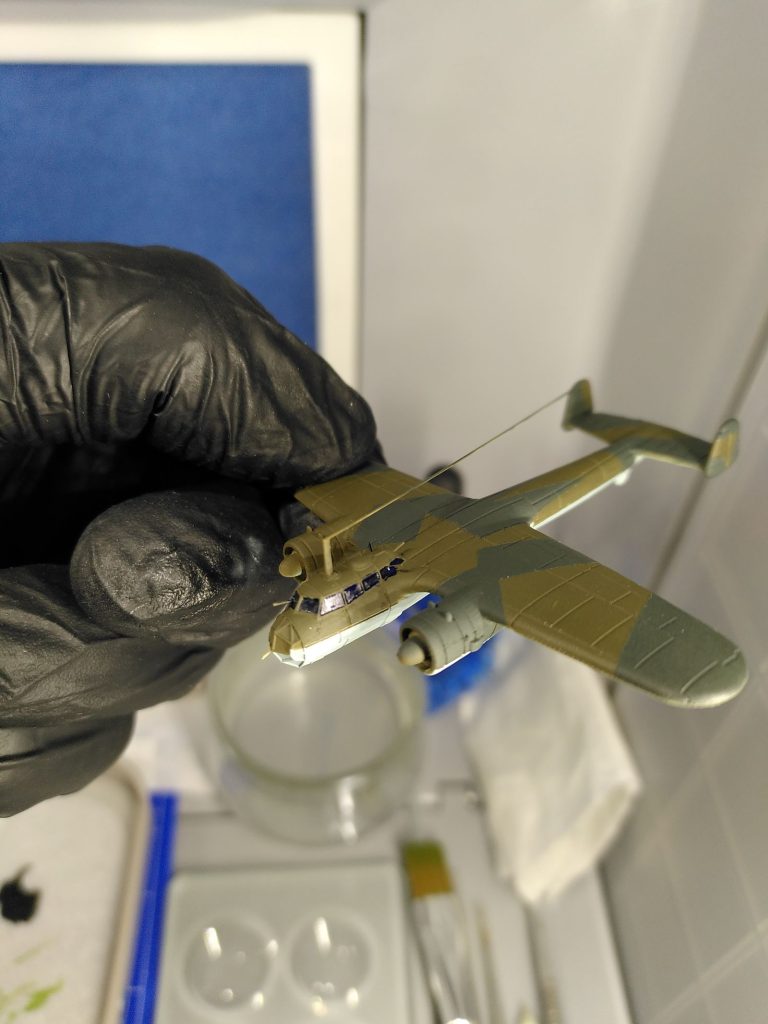
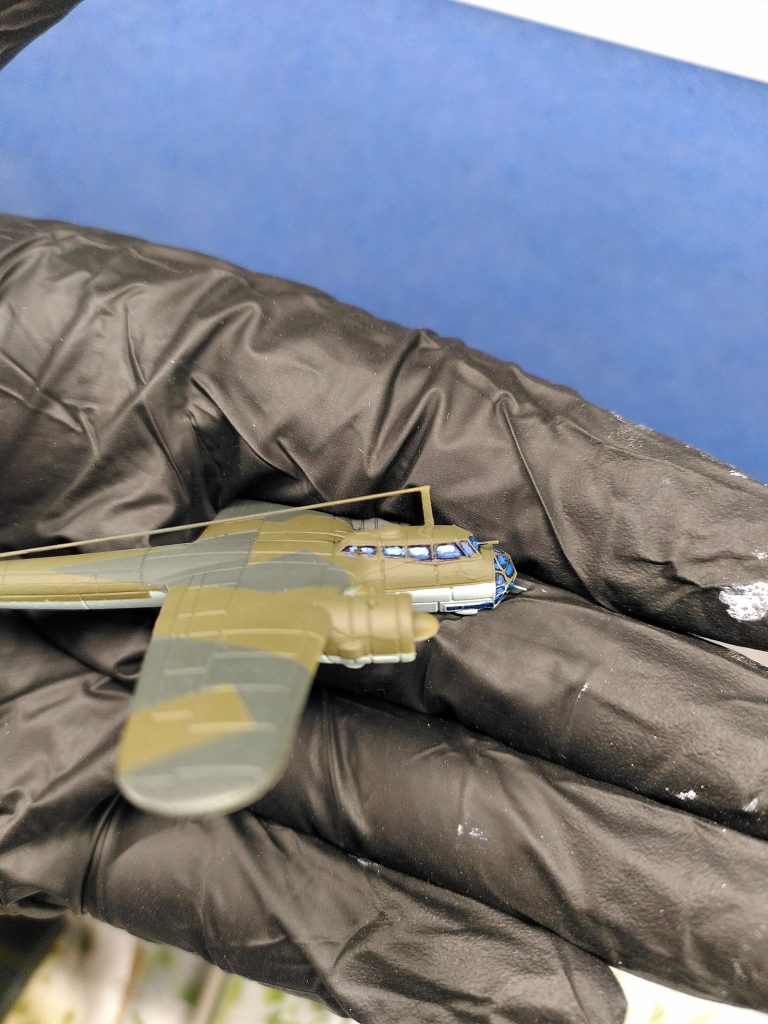
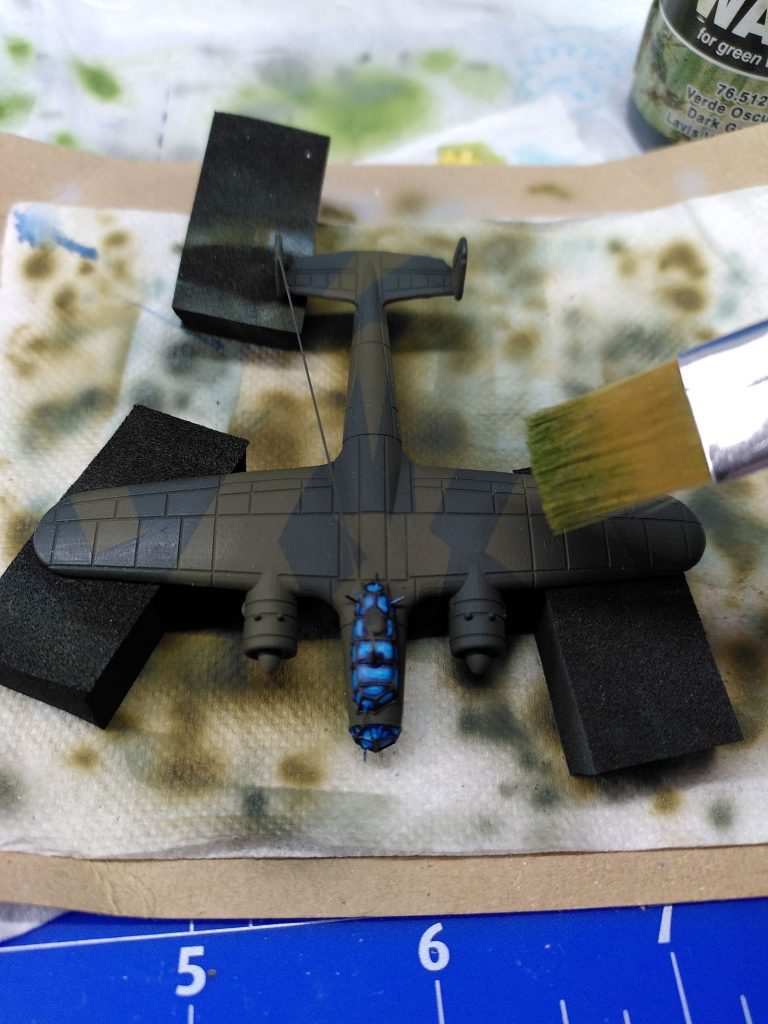
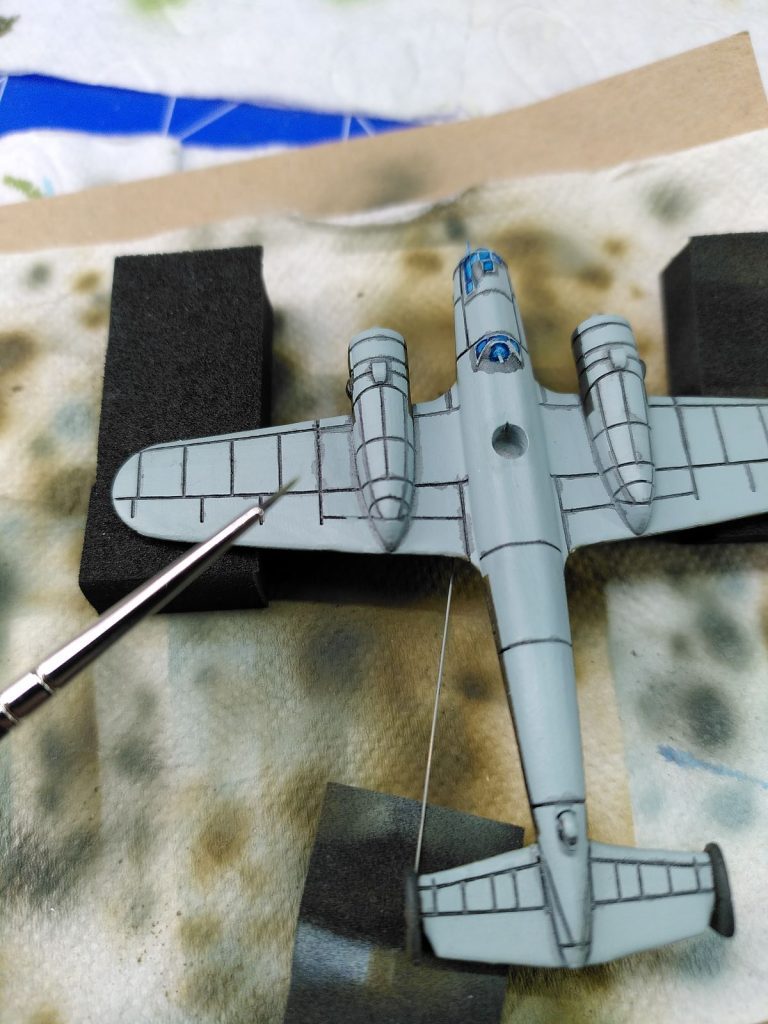
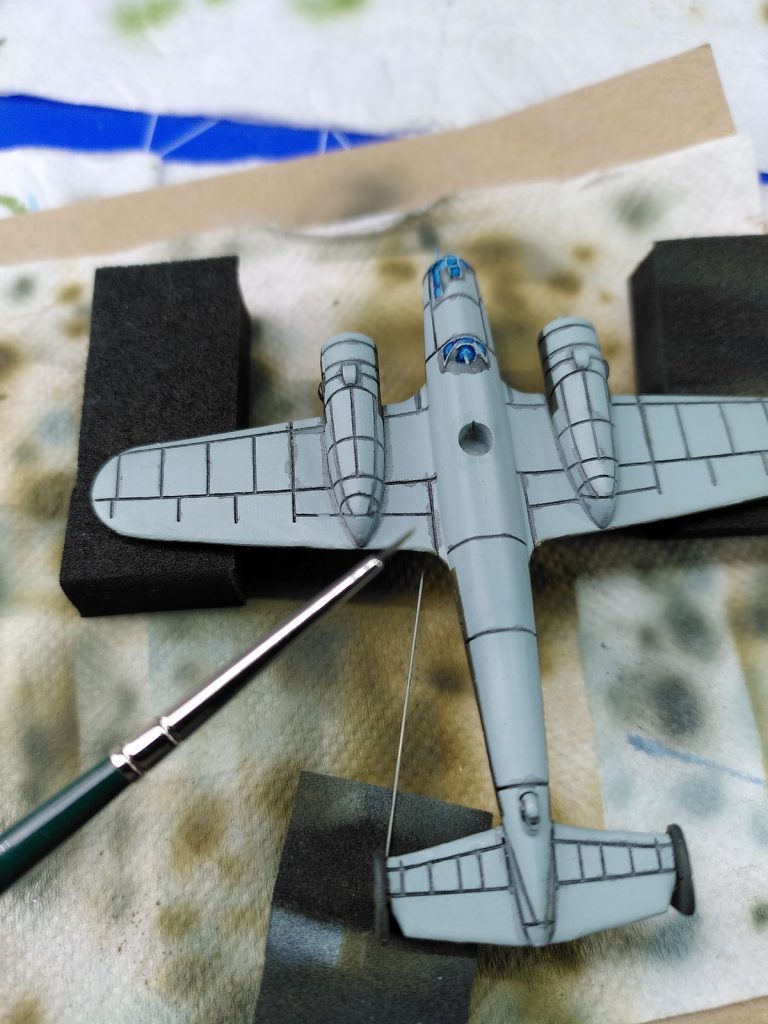
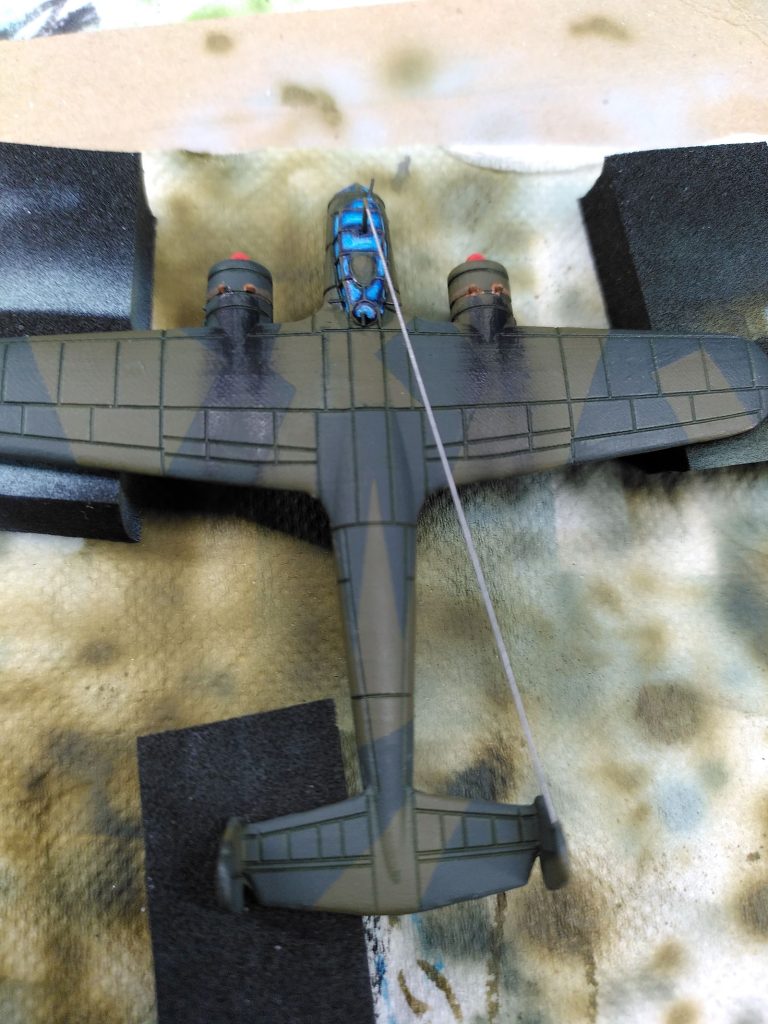
What you can now see in the photos is the masking with Revell masking tape 10mm, so that I can then apply the darker part of the camouflage with Vallejo Air RLM 70 Black Green. Also the above mixture and again 2-3 coats so that it covers well. I often cut the 10mm wide masking tape into thinner strips with scissors so that it fits in narrow places. This tape is also available in smaller widths.
Unfortunately, dust always falls on my model, so I always brush any dust etc. off the model with a large soft brush. You should pay particular attention to this when brushing or later when using gloss and matt varnish.


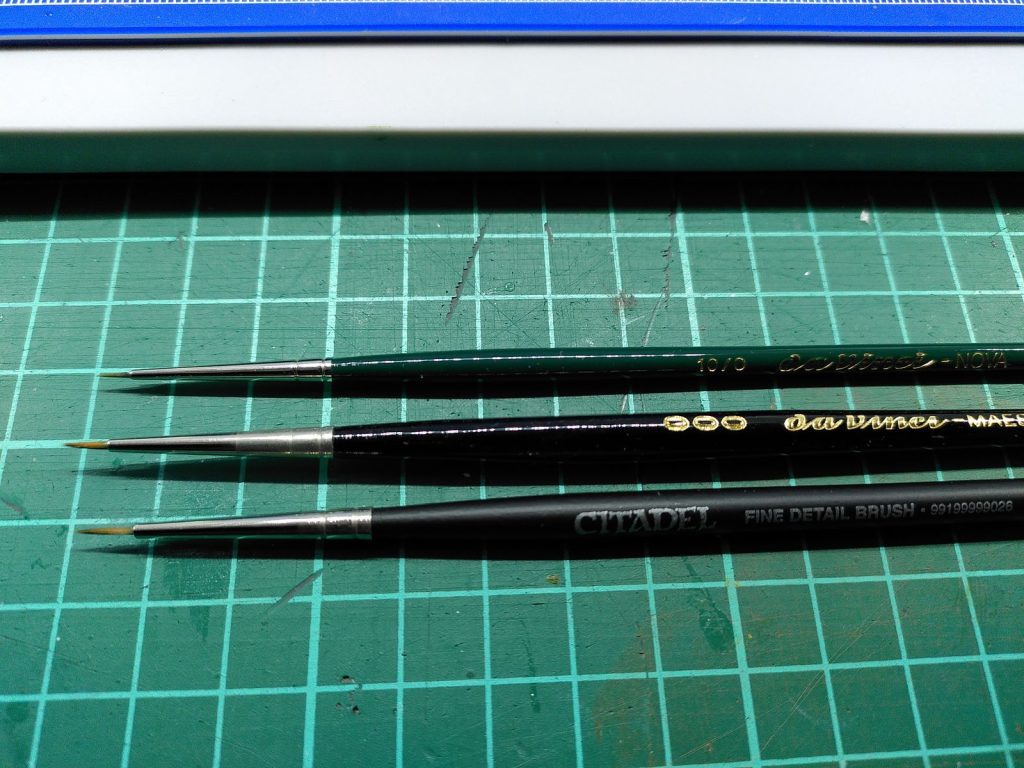
Painting the cockpit windows
I recommend a fine brush here. I have to thin some of the regular colors I use. The Vallejo Air paints are generally all about the same thickness and can also be used with a brush for small details, corrections, etc. The other regular colors are very different in thickness, even within one manufacturer. I can generally recommend that you buy these so-called agitator balls, simple steel balls, and put them in the bottles. This way you get them mixed properly and if a regular paint is too thick, I tip a little airbrush thinner into the paint bottle.
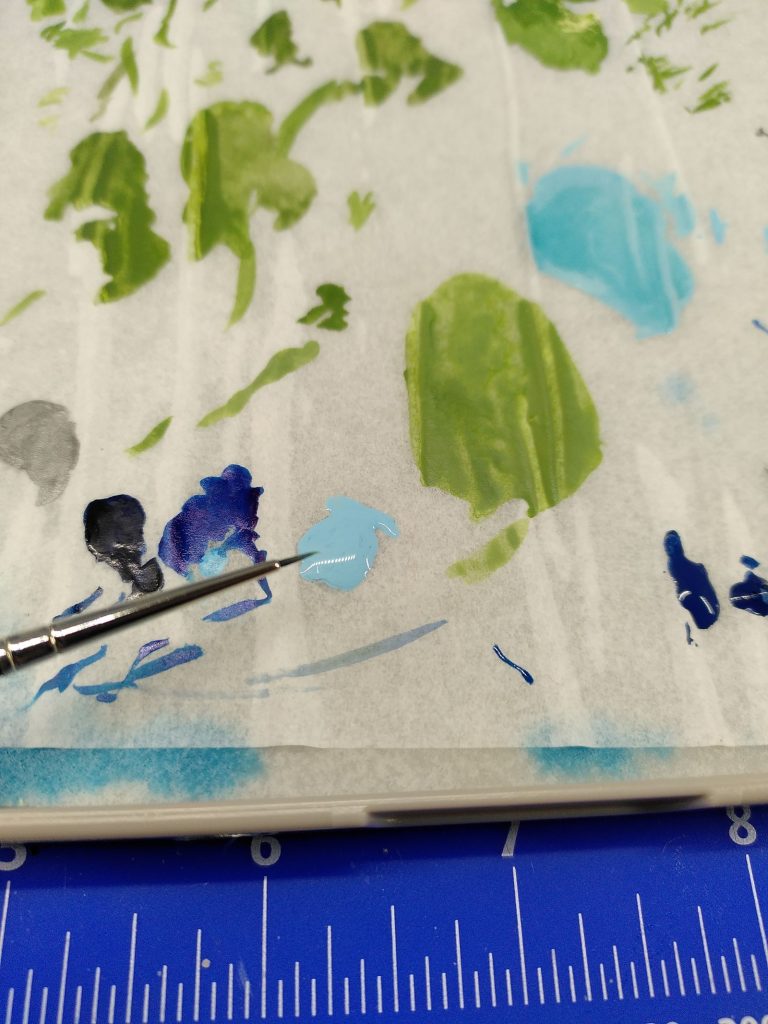
I can also strongly recommend a wet pallet. This is a kind of plastic lunch box with a foam or sponge on which parchment paper is placed on top. You can buy it ready-made or, if you have everything at home, you can put it together yourself. The sponge is filled with water and the parchment paper on top remains damp. This means you can use the paint for a few more days as it won't dry out. In addition, you can mix two shades together in stages, e.g. from yellow to red, so that in the middle there are several stages from yellow to orange to red.
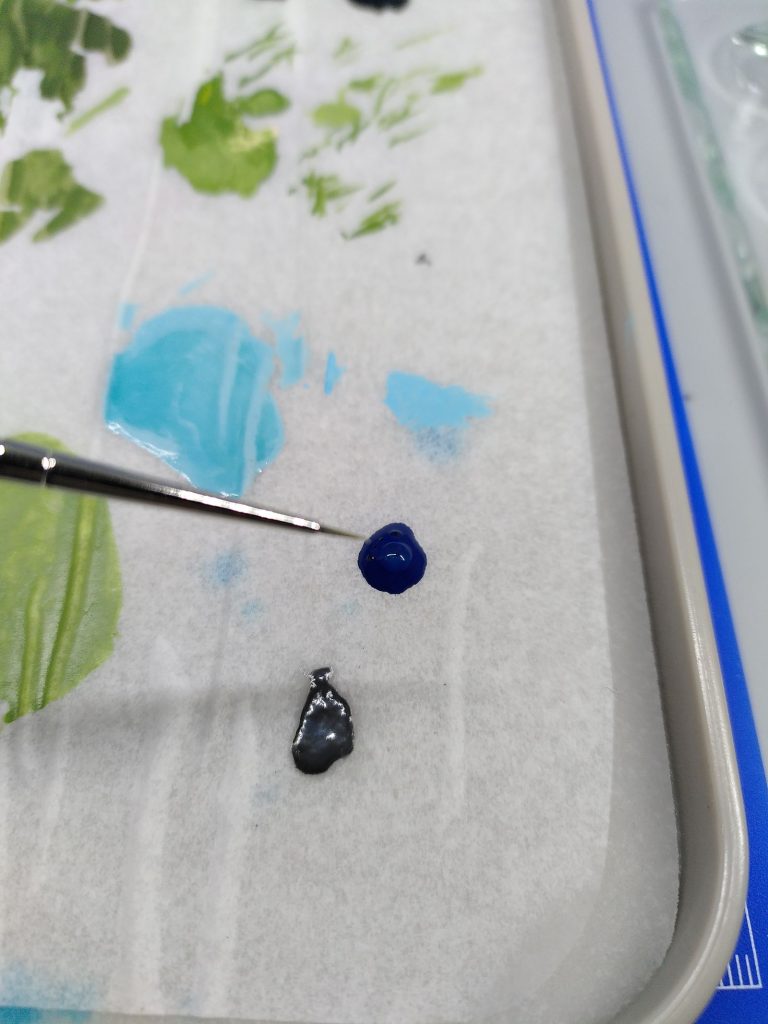
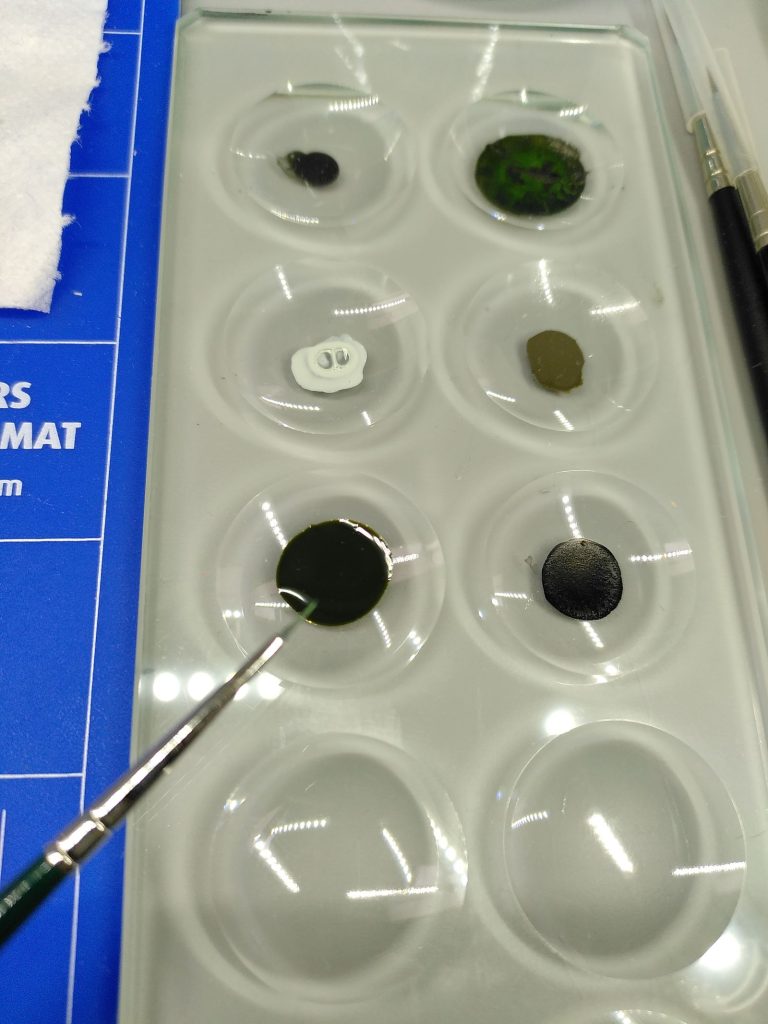
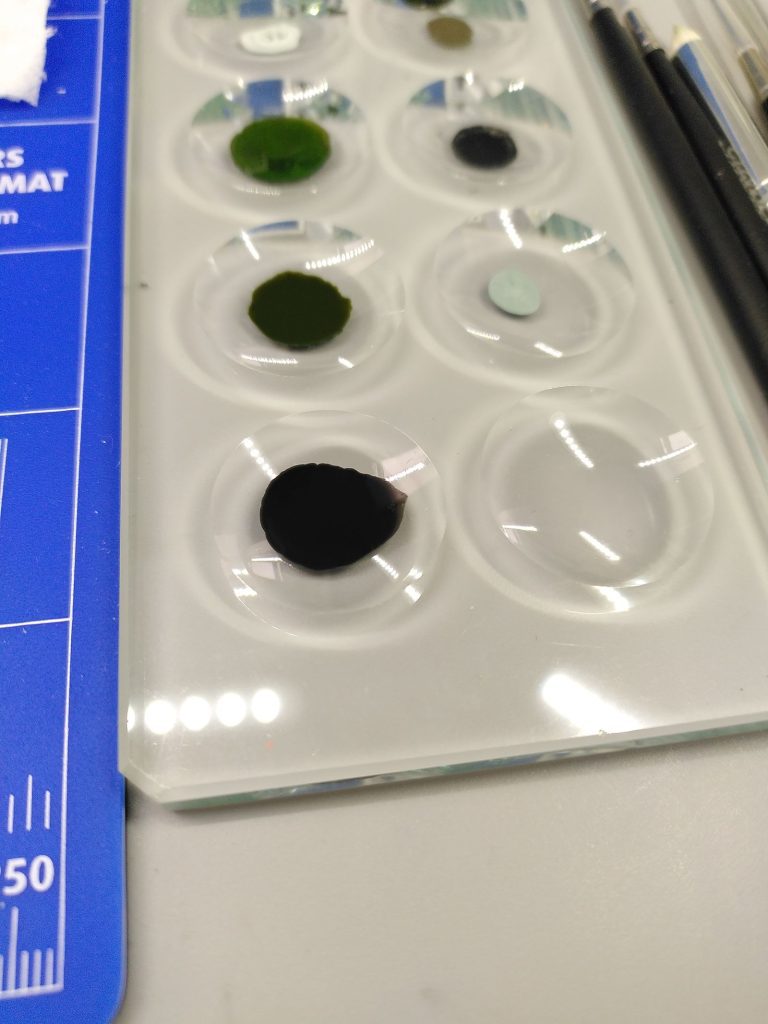
A mixing palette is also very helpful. You will see this in the following pictures.

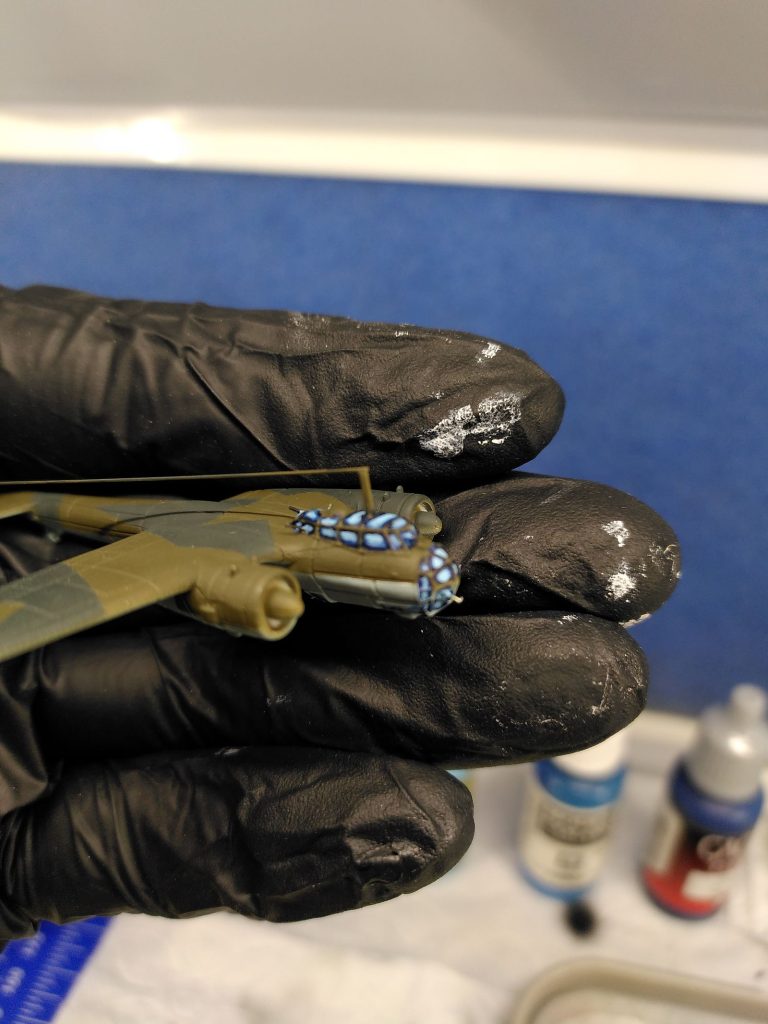
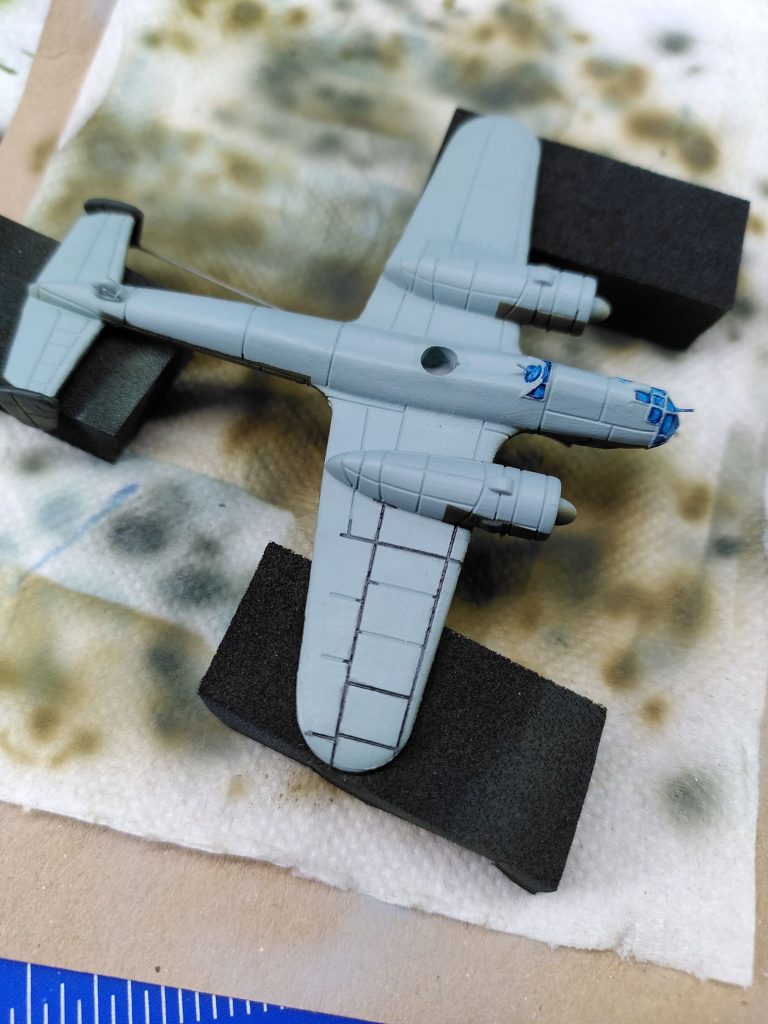
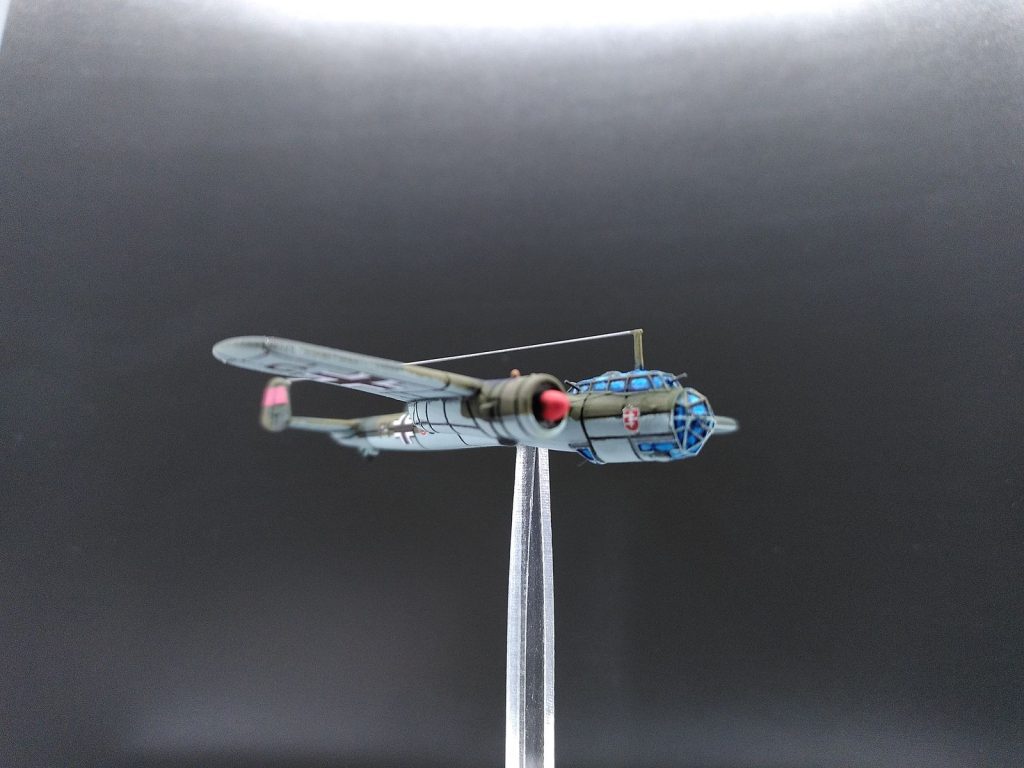
The first step is to take the dark blue and color in the windows. Sometimes a little bit goes over the edge, but we have to correct it anyway if we want it to look neat. In the end, all that remains of the dark blue is a border in the window.


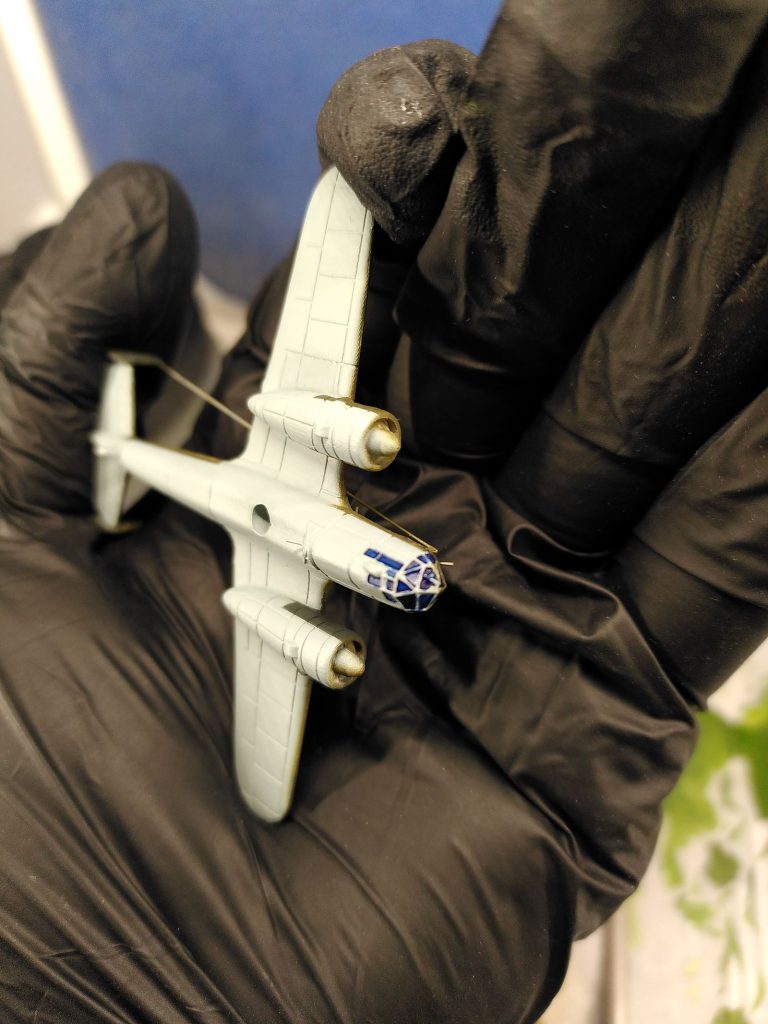
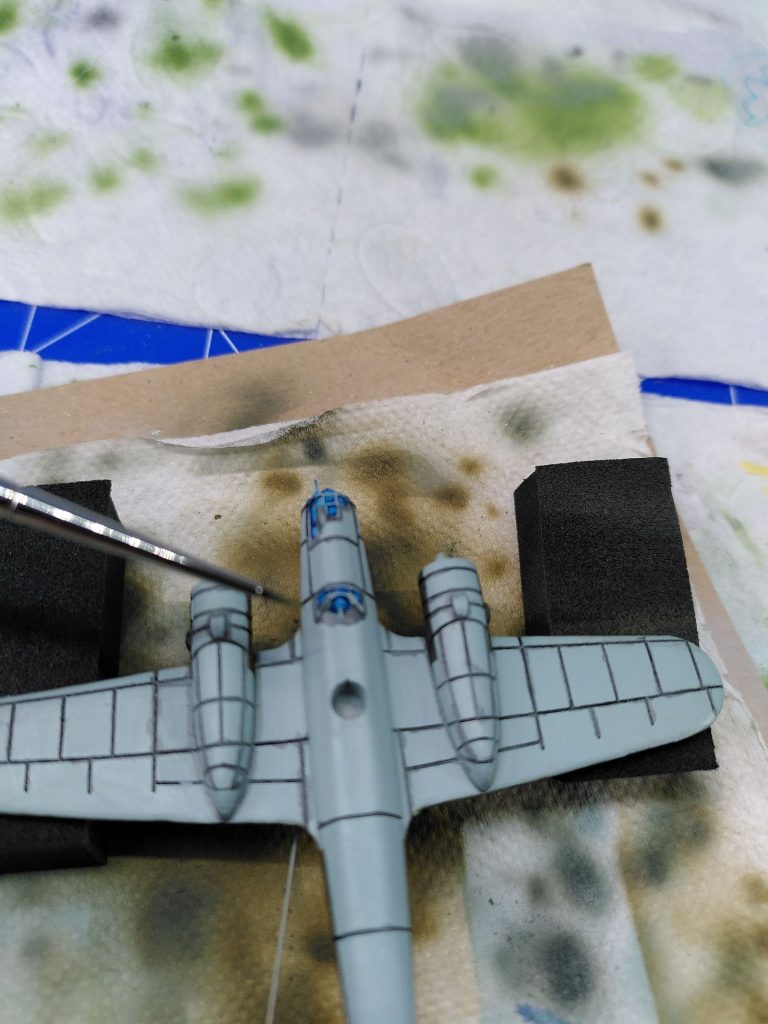
Next comes the middle blue. This is used to paint an inner surface so that a thin border of dark blue remains at the edge if possible. Don't go mad if it doesn't work straight away. Keep correcting here and there until you like it.

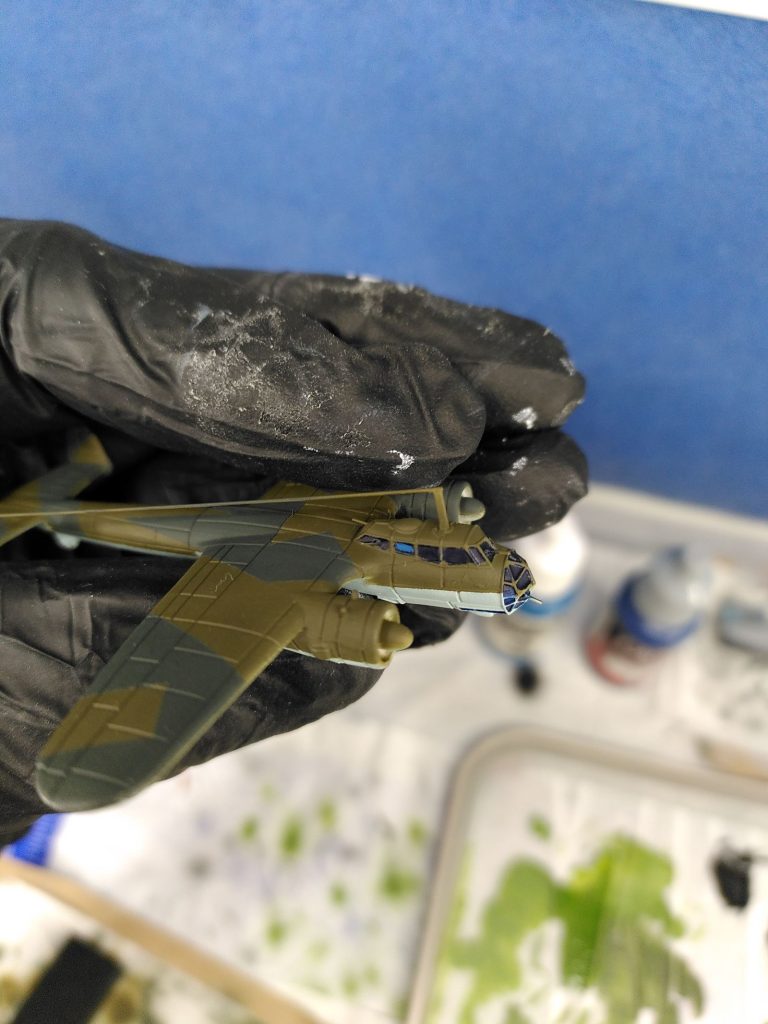


Now comes light blue. I don't know if Army Painter colors are always so thick or if mine are just that old. Here I have to dilute quite a lot. I paint inside the dark blue frame on the medium blue area in its upper half or third, thinking that this is where the most light comes through the windows.


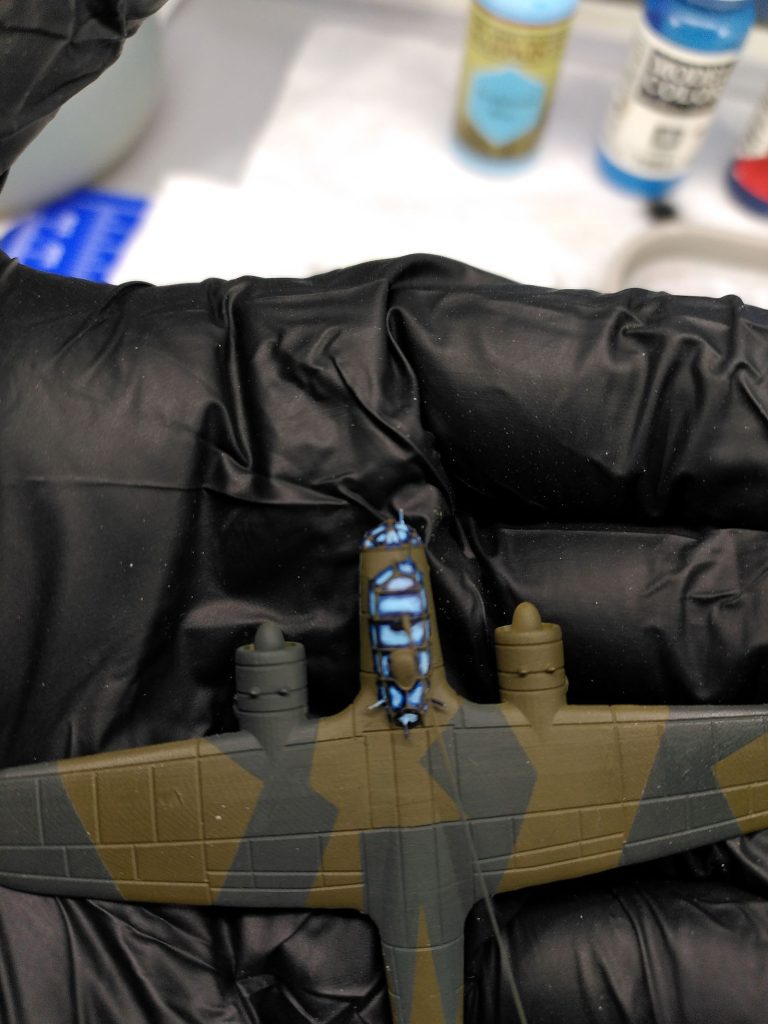
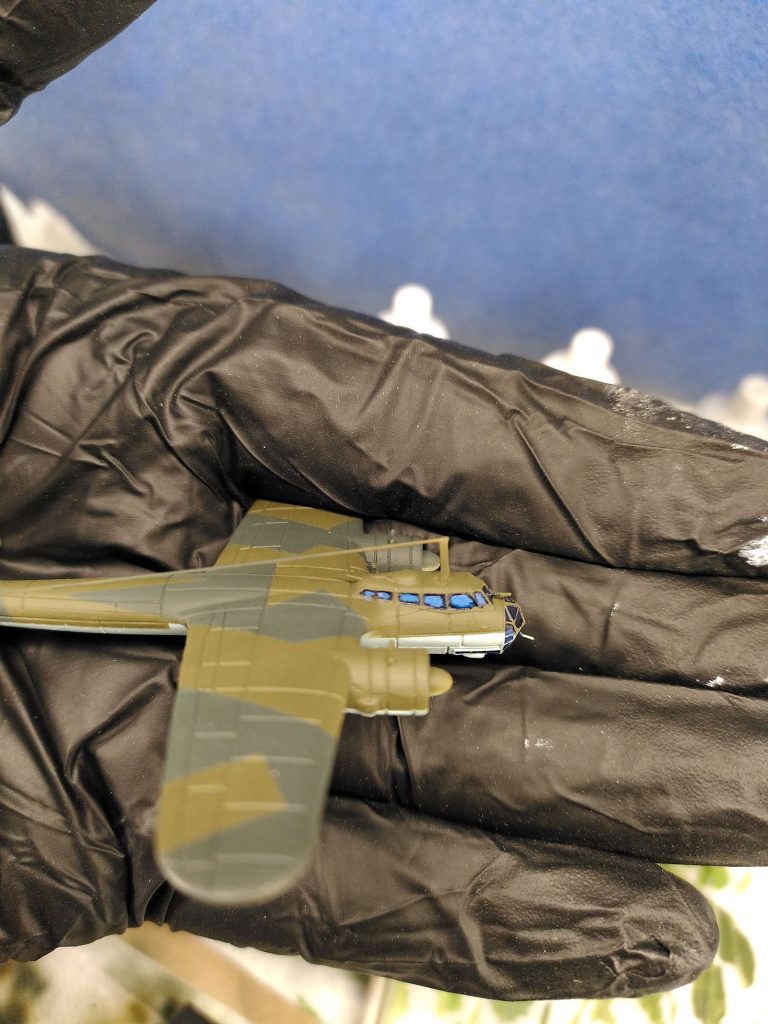
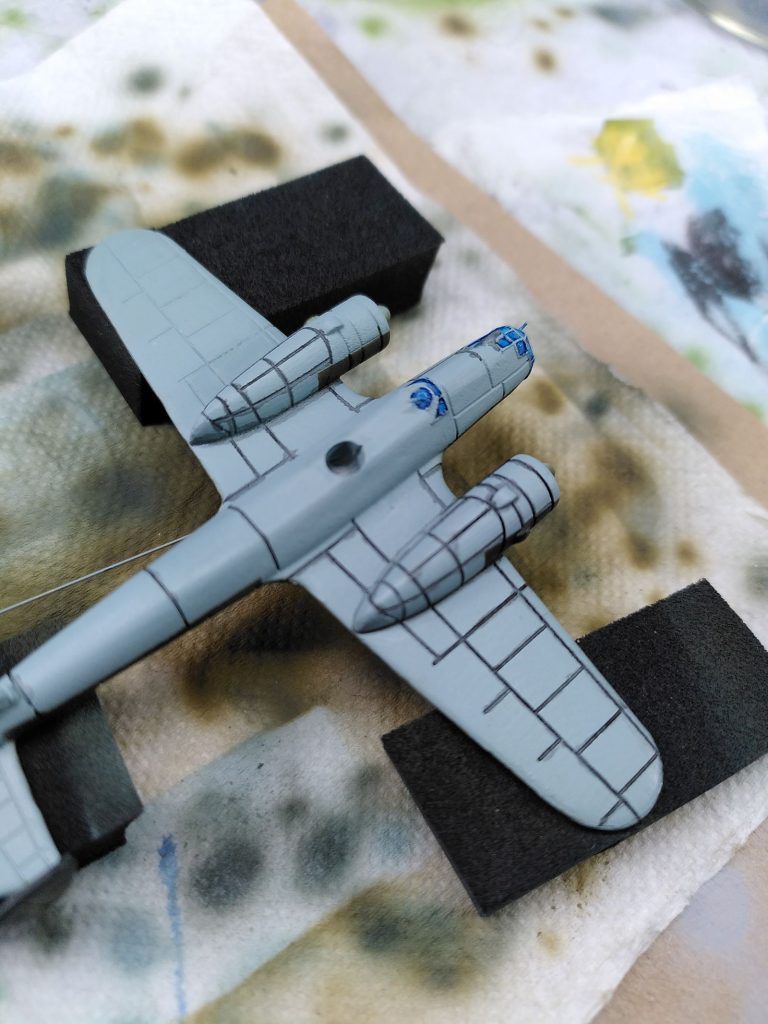
Everyone has their own way of painting windows - of course there is no right or wrong - it's all a matter of taste. You could leave the windows as they are, but I'm going to cover all the windows with the medium blue I used before. I mix about 4:1 distilled water with the medium blue so that it is very transparent. It colors the light areas slightly bluish and settles on the edges like a wash.
Washes
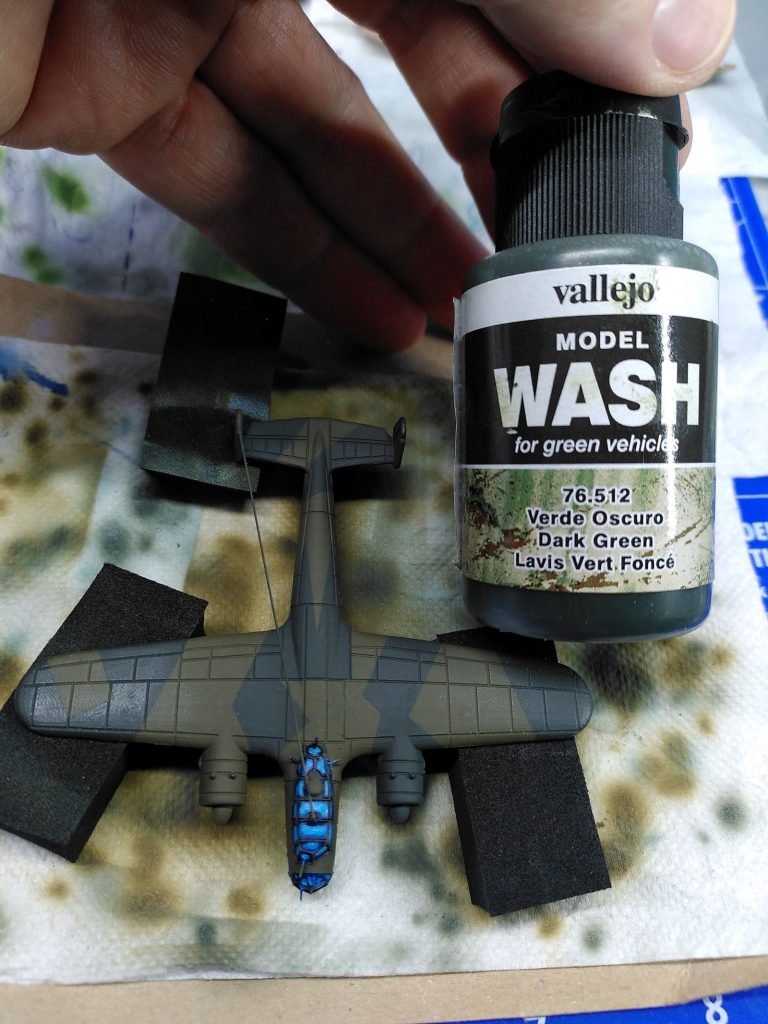
Next, we reinforce the reliefs on the lower blue and upper green half of the model. Here I like to use a dark gray wash for the bottom, as black is too dark for me. At the top, I use a dark green wash for the same reason. Here I choose a very fine brush, first soak it a little with water, dab it off, then it soaks up the wash. Washes are sometimes difficult to wash out of the brush - so I try to increase the chances that the brush will be clean again later by wetting it first.
When the brush is really saturated with wash, simply try it out on a cross connection and place a dot there. You can see how the wash follows the relief due to the capillary effect. Of course, I also move the brush carefully along the lines and only wash where I want the wash to be. Another technique is to go over the whole model with a larger brush so that a lot of the wash remains in the recesses. However, this automatically ensures that the rest of the color areas become darker. The whole model will therefore become darker. If you use oil-based washes and have already applied a gloss varnish as protection, there are some people who then remove the excess wash with cotton buds and thinner. I have not yet managed to do this with acrylic-based washes etc. You could probably add a so-called retarder, i.e. drying retarder from the airbrush, so that you can wipe away some of the wash on the smooth surfaces before it dries.
If you make a mistake, it's not a problem - I make a correction at least for the light underside after washing so that it looks clean. This is often not necessary on the top side with the dark colors.


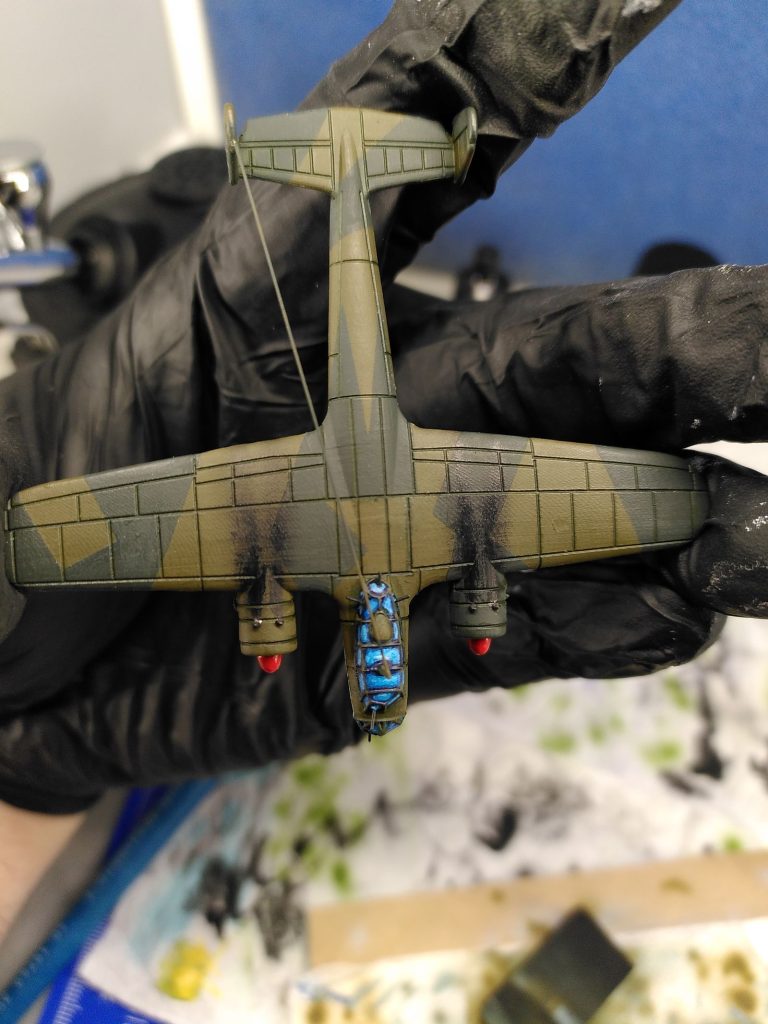
Details, soot and rust
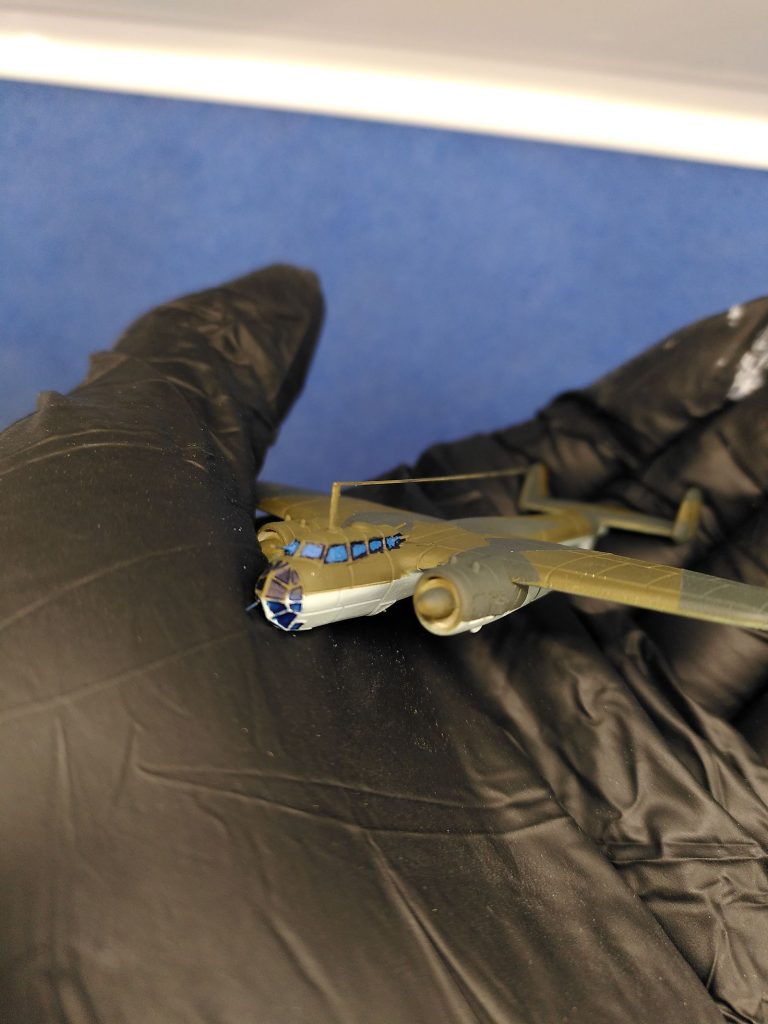
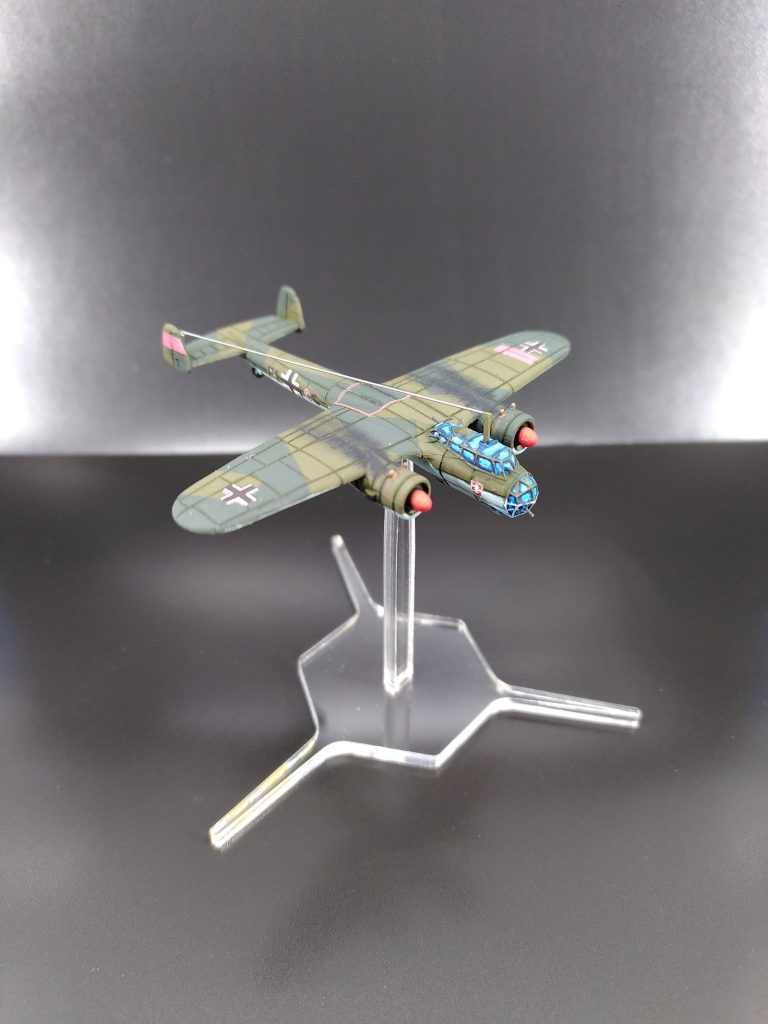
To give the model a little more life, so that it looks like a used airplane, a few traces of soot from the exhaust fumes and a little rust on the exhaust pipes are added.
Small details such as the red propeller caps are now also included.


Decals and varnish
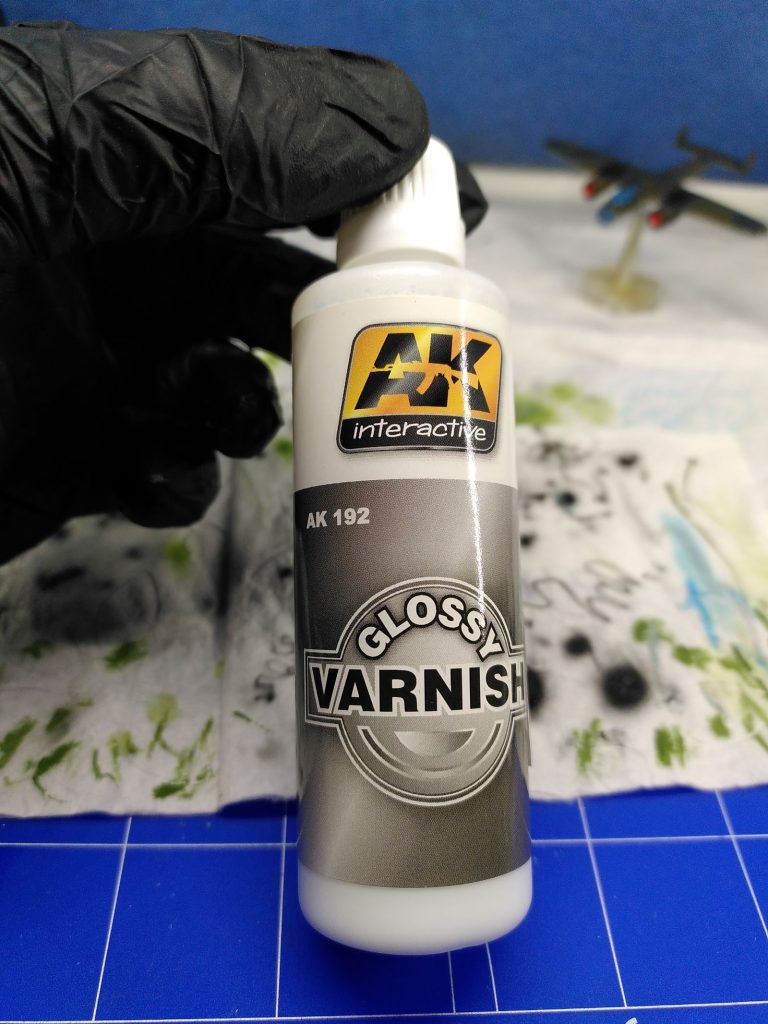
The next step before applying the decals is to apply a coat of gloss varnish so that the decals can be placed neatly on as smooth a surface as possible.
I cut out the decals themselves, hold them in water for about 10 seconds with a pair of tweezers, put a small drop of water on my finger, place the decal upside down on it and remove the backing layer with the tweezers so that the decal floats on my finger. If you now want to pick up the decal with the tweezers, you have to carefully test whether it does not roll, bend or otherwise deform due to surface tension or a capillary effect. This can sometimes be very annoying and it takes a lot of patience to unroll or unfold the decal. I have also broken one or two in the process. Fortunately Bernhard always puts enough decals on one sheet, so that you can equip at least 3 airplanes.
I moisten the area on the model where the decal is to be applied with the brush and a little water so that I can move it after application. If something goes wrong, you can even apply more water to and around the decal about 1 minute after it has dried to adjust it. I currently use a cotton bud to press the decal down so that no water or air remains underneath.
Babek uses a piece of silk fabric for this and has had very good experience with it. I had used some cotton fabric, but this gave off tiny bits of fluff, which were then difficult to remove from the model. I moisten the cotton swab slightly and comb the cotton fibers lightly so that they don't stick out. It can always happen that despite careful pressing, the decal slips sideways. Then apply a little water with the brush as described above, adjust and press dry again. The decal must be pressed into the recesses of the model. The effect you want to avoid here is the so-called silvering. There are many articles on this on the Internet. I have a plasticizer from Revell that makes it easier to press the decals so that they can be pressed into the reliefs and bumps. However, as this is a very harmful substance, I have refrained from using it. After all, you don't want to have plasticizers in everyday objects that could be harmful to your health. If pressed carefully, it works without plasticizers.
After the decals are on and have dried for a few hours at room temperature, I apply another layer of gloss paint over the model with the airbrush. This also gives any shiny edges of the decals the same gloss as the rest of the model. Once this has dried after a few hours, the final coat of matt paint is applied. Here I use the ultra-matt paint from PK-PRO, which I can absolutely recommend. I also dilute both paints approx. 2:10.


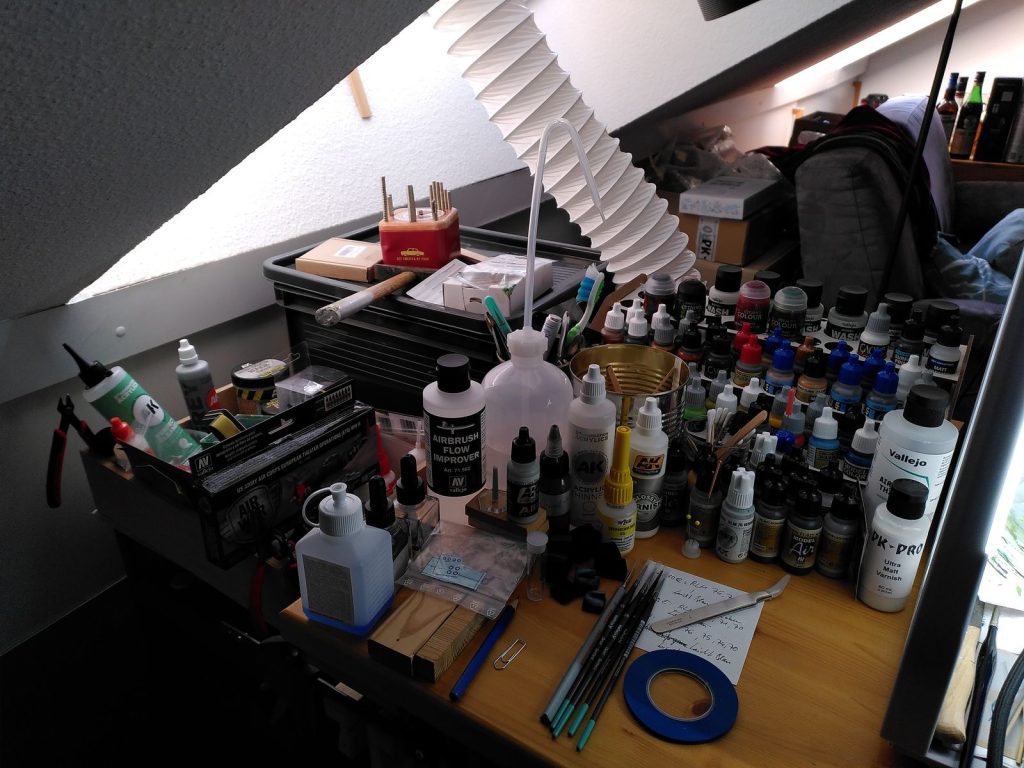
Impression of the handicraft corner ...
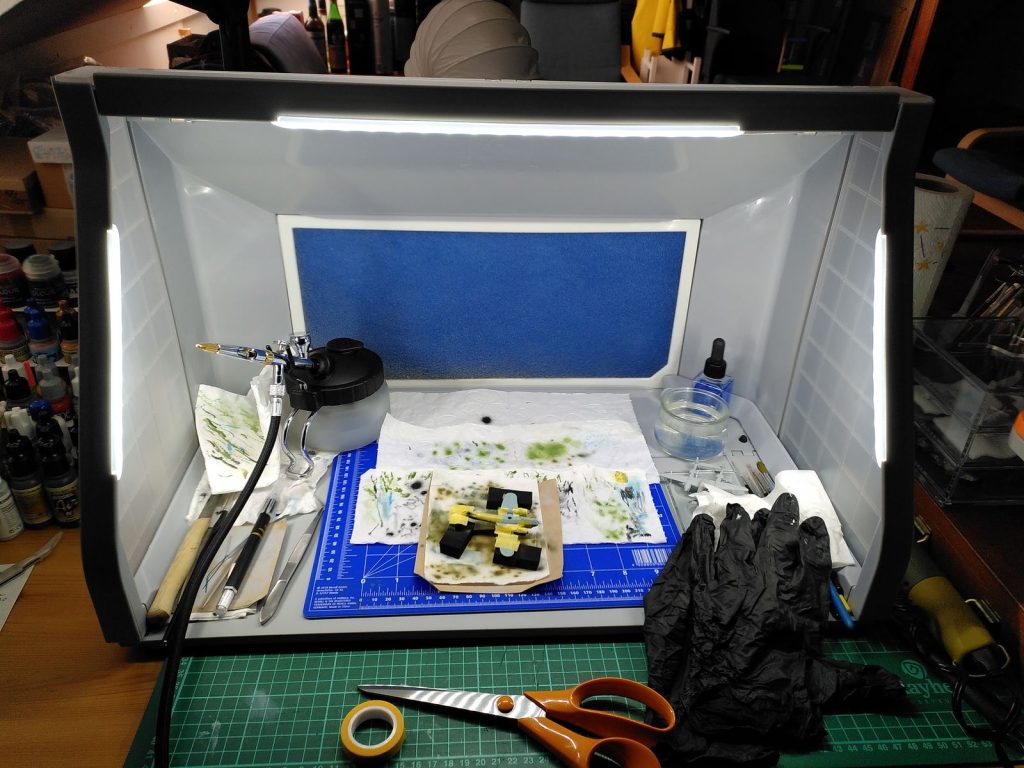
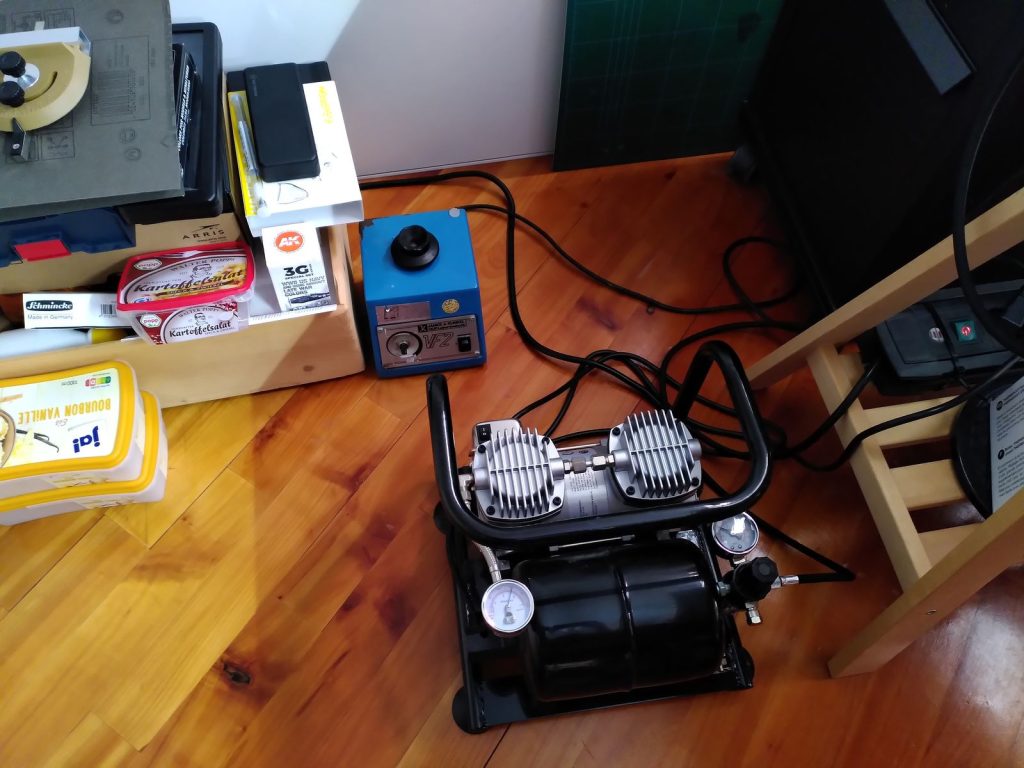
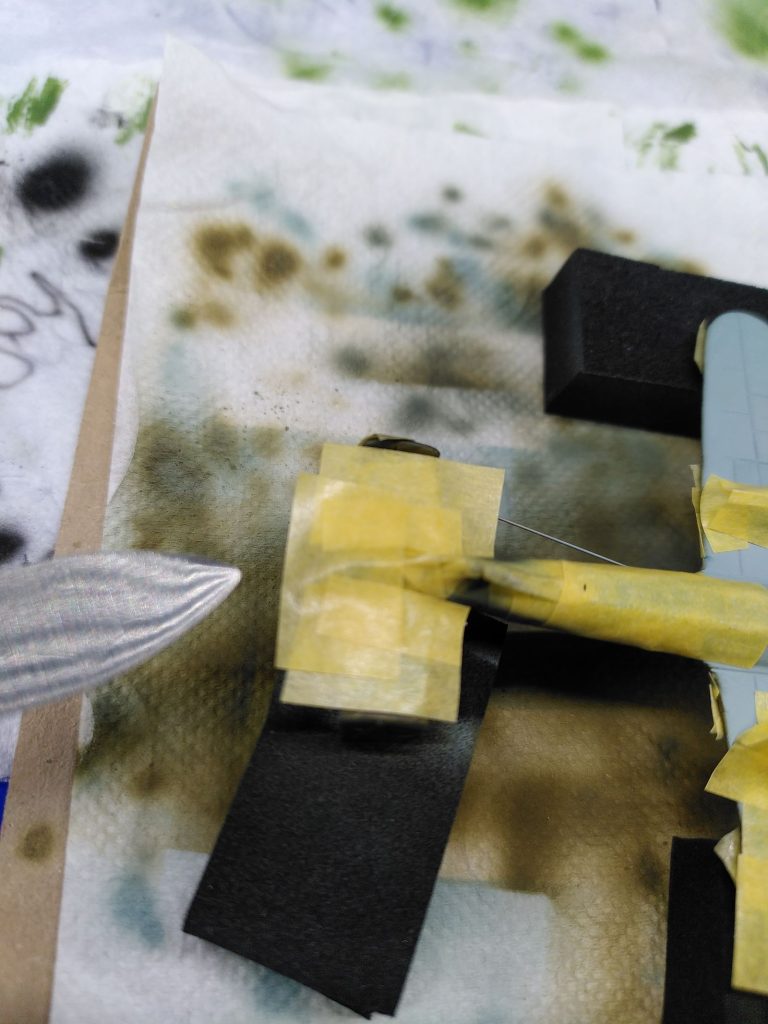
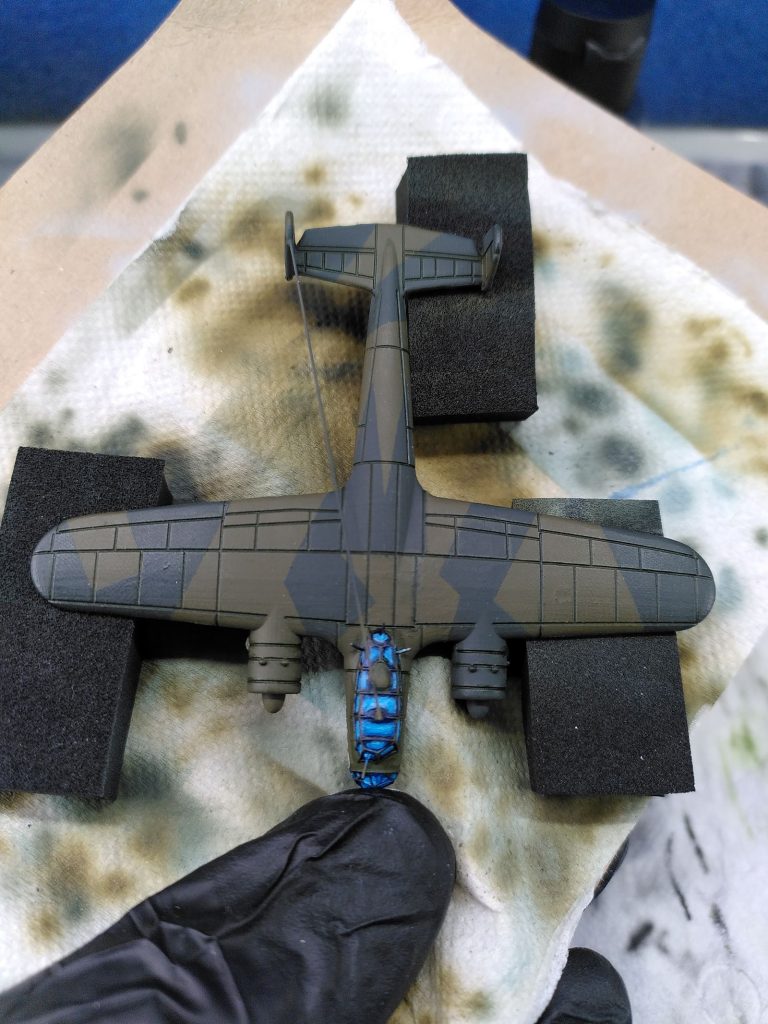
In the picture on the left you can see the model on a thin piece of cardboard with a bit of Zewa or toilet paper on it. The black blocks are pieces of neoprene that I had left over. The corners of the cardboard are folded up so that I can easily rotate the model. The toilet paper is to absorb the paint and paint mist and the blocks raise the model so that the antenna mast doesn't break off.
I hope you enjoyed the trip and that I was able to help you a little. There are a lot of things I can't do and I'm always looking at what I can improve within the scope of my possibilities and time. If you have any questions or would like to give me tips, please write to me via the mail symbol here on the site or via Facebook. I look forward to the exchange 🙂